Remove Product Backgrounds Without Making the Cutout Look Fake
A real background removal workflow for product photos, avatars, and ad assets, with transparent PNG checks, edge review, and the next finishing steps after the cutout.

David Chen
·5 min read

A transparent PNG is only useful if the edge still feels believable.
I tested background removal on six real images in GPTIMG: a product bowl, a chair, a package mockup, a clean room object, a portrait, and a studio item. The best result was not the one with the prettiest background. It was the one with the cleanest subject boundary.
The goal is not to delete the background. The goal is to create a subject layer you can reuse.
Check the edge before you trust the file
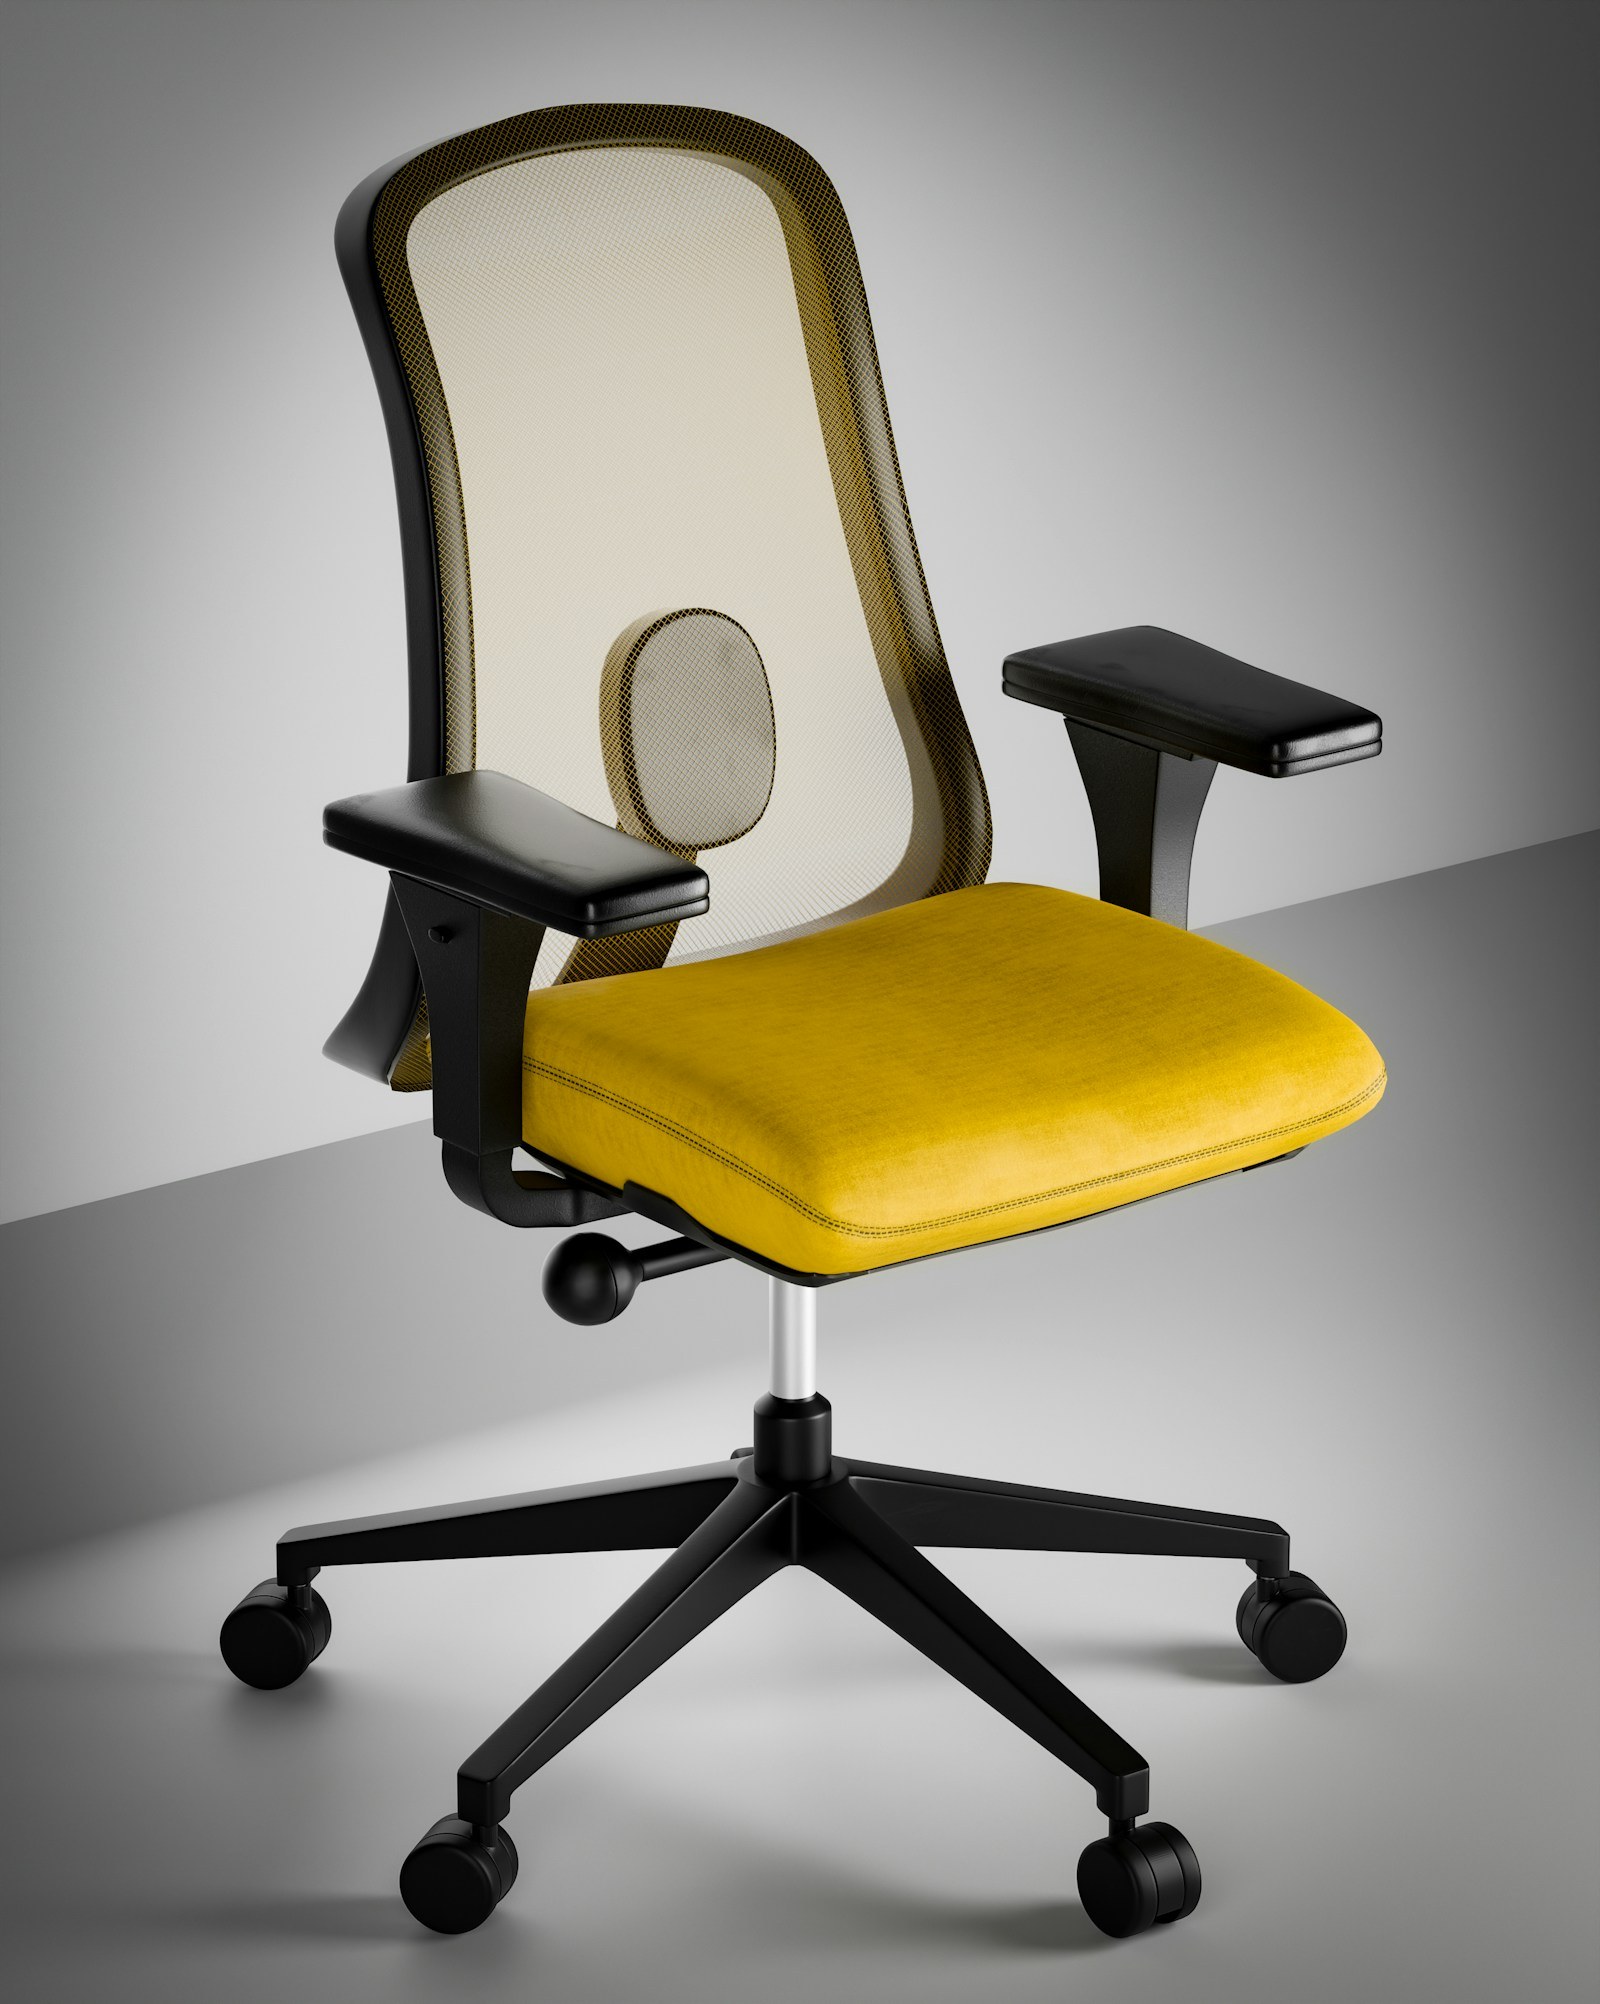
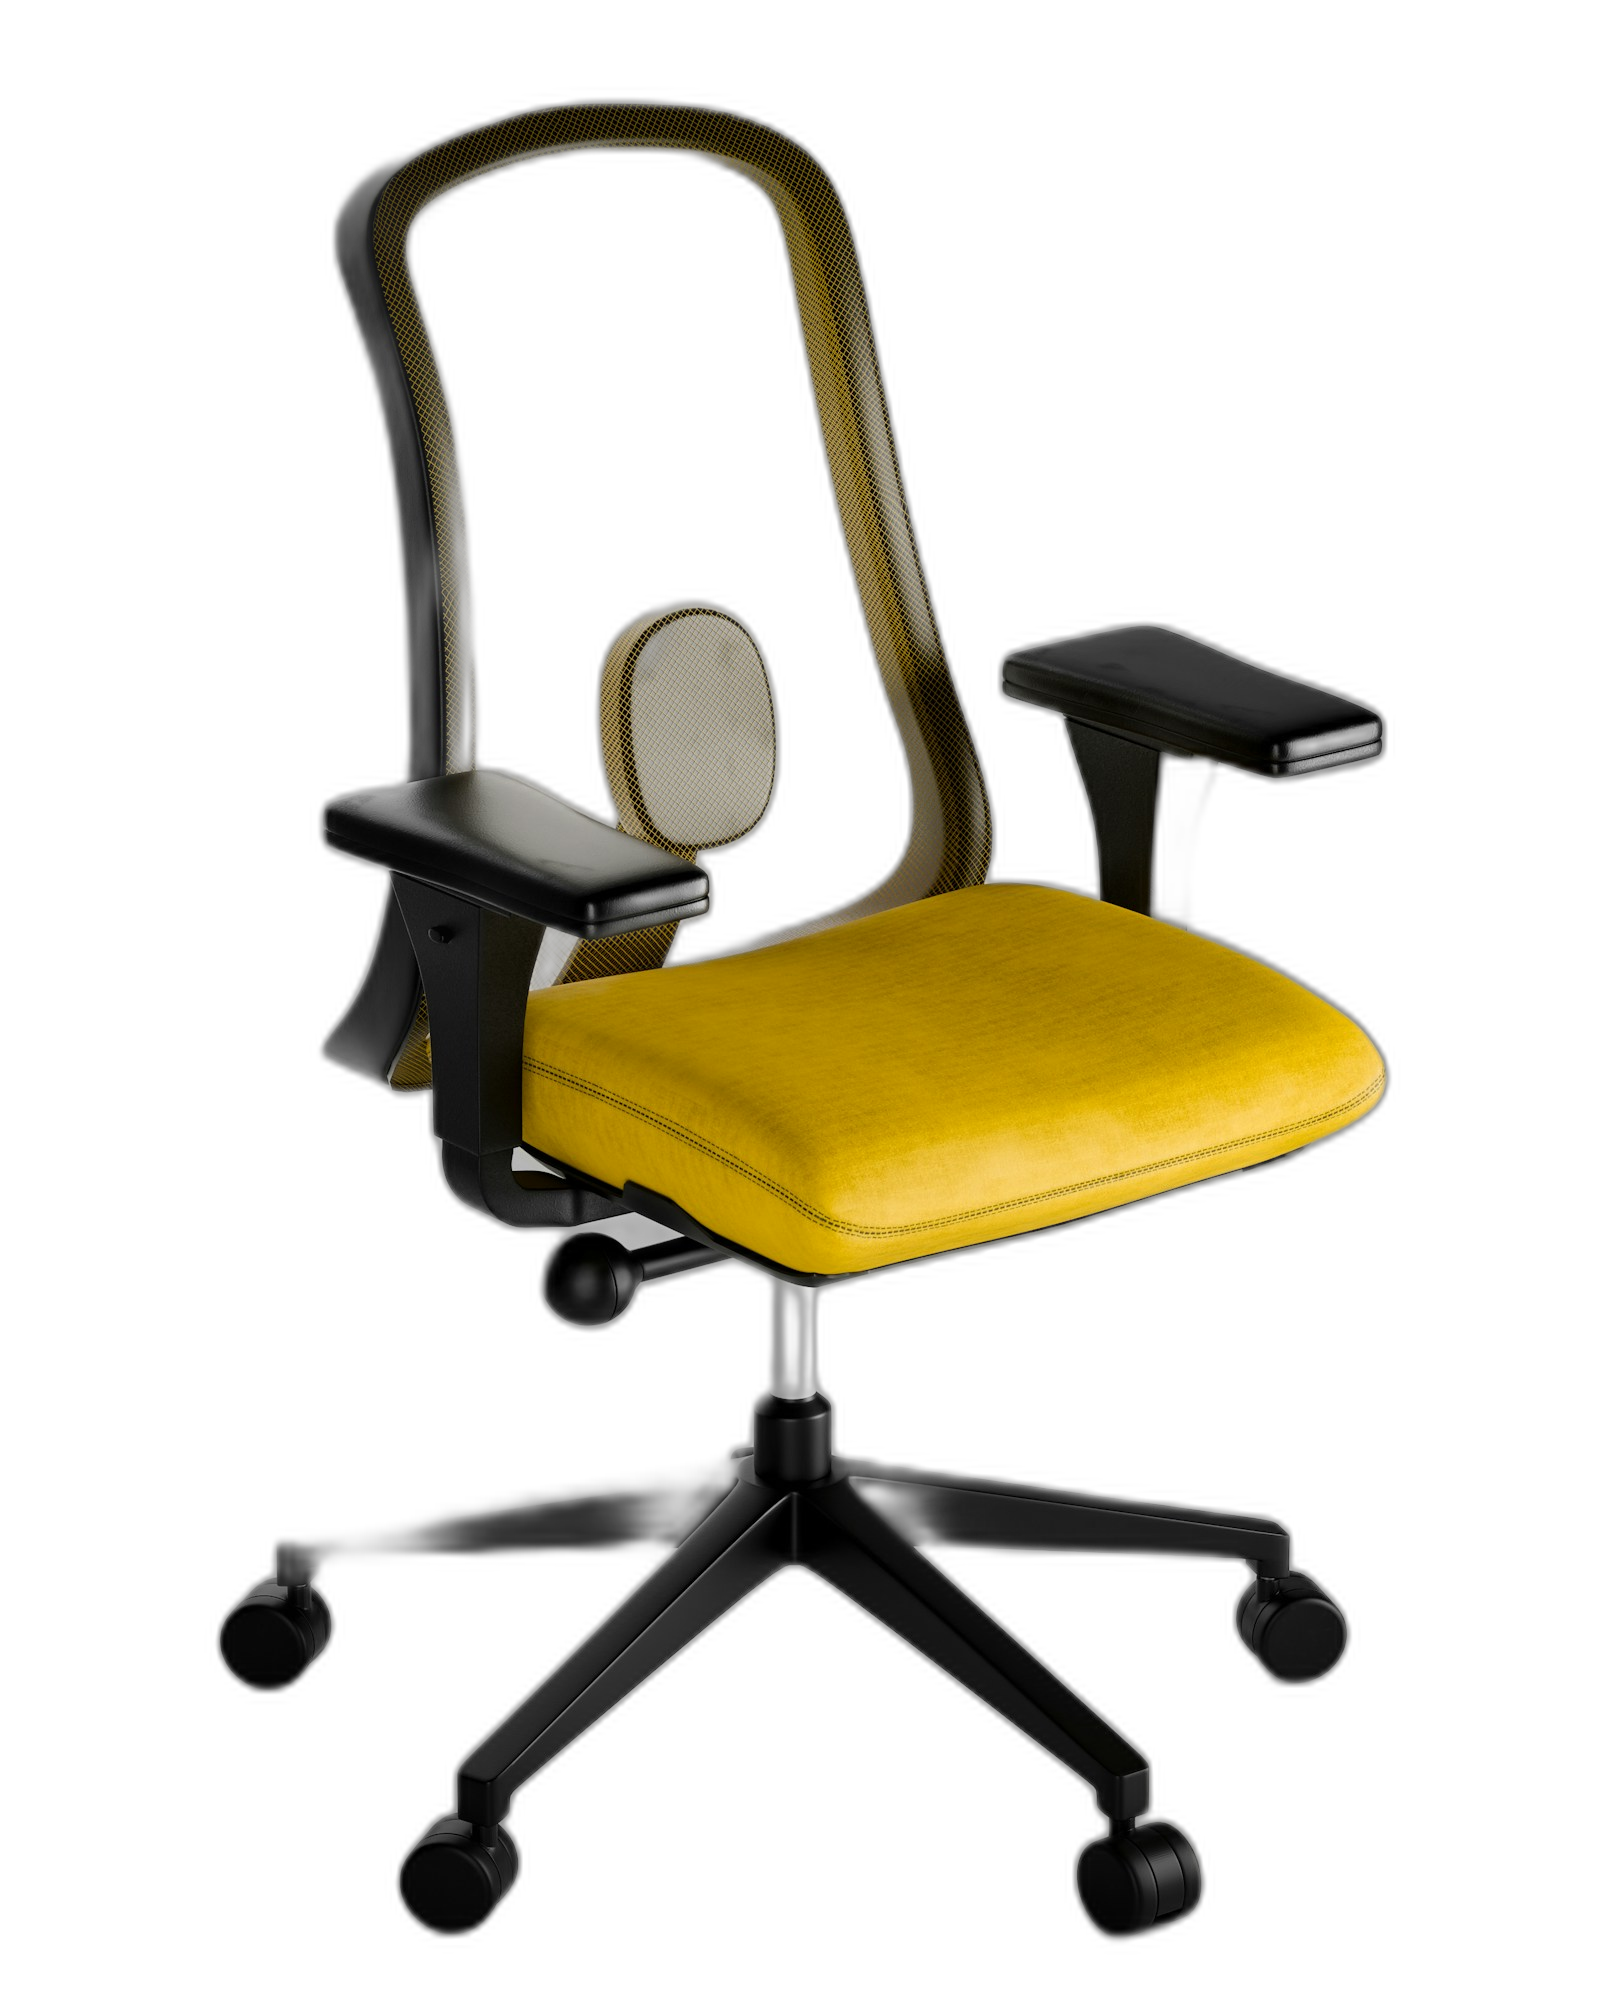
Most bad cutouts fail in the same places: hair, glass, mesh, chair legs, bag handles, plant leaves, and shadows. Those details decide whether the final image feels professional or pasted on.
For product pages, I check the PNG on three backgrounds before using it:
- White: catches gray halos and missing shadows.
- Black: reveals jagged edges and leftover light pixels.
- Soft color: shows whether the cutout works in an ad or hero layout.
If it only looks good on a checkerboard, it is not ready.
The chair example is a good stress test because the mesh back and thin arms make the edge hard. A simple mug or white bowl is easier. That is why one sample is never enough.
The workflow I use for store images
Start with the largest clean source you have. Do not crop the product before removing the background unless the crop is already final.
- Upload the product photo to Remove background.
- Preview the transparent result on white, black, and color.
- If the product is too small after the cutout, send it to Upscale image.
- If the edge has a small label, date stamp, or mark, use Remove object.
- Compress the final PNG or JPG with Compress image before publishing.
That order matters. If you upscale before removing the background, you may enlarge the messy parts you wanted to remove.
Turn one product photo into a reusable layer
Upload a product, portrait, or mockup and inspect the transparent PNG on multiple preview backgrounds.
Where background removal pays off
For ecommerce, the obvious use is a clean main image. Amazon, Etsy, Shopify, and marketplace listings all reward clarity. A cutout gives you control over the background instead of fighting the original room, table, or wall.
For ads, the cutout becomes a layout piece. You can place the same product on a sale banner, a comparison graphic, a launch email, or a social post without re-shooting it.
For avatars and people, the cutout needs more restraint. Hair and clothing edges are harder than a ceramic cup. If the edge looks too sharp, preview it on the actual background you plan to use.
Common mistakes
Mistake 1: exporting too early. Always preview the PNG on at least two backgrounds.
Mistake 2: using a tiny source. Background removal works better when the subject edge has enough pixels.
Mistake 3: treating the cutout as the final asset. Most images still need a shadow, crop, upscale, or compression pass.
Mistake 4: ignoring rights. Use product photos, portraits, logos, and generated subjects you have permission to edit.
A cutout is the start of the asset
The most useful PNG is not the one that looks impressive on a checkerboard. It is the one that still looks natural after you place it into a store card, ad layout, email header, or social post.
Start with one photo. Remove the background, preview the edge, then keep finishing the same image instead of restarting the whole job.
Frequently asked questions
Do I need a credit card to try GPT Image2 Studio?
No. Every new account starts with 30 credits on signup, then unlocks 30 more after the first successful image. Paid plans only kick in if you want more than the free ceiling.
Can I use the generated images commercially?
Yes. Every tier, including the free starter credits, comes with full commercial rights. Run ads, sell products, print on merchandise, publish on any platform. No watermark, no attribution required.
Which model should I route to for what?
Hero ads and text-heavy creative fit GPT Image 1.5 high. Product and macro texture work fit Nano Banana Pro. High-volume social iteration fits Nano Banana 2. Fast drafts and mood boards fit Z Image. The workbench can route one prompt across all of them.
How fast is a single generation?
Z Image returns in about 10 seconds. Nano Banana 2 often returns in 15 to 20 seconds. Nano Banana Pro and GPT Image 1.5 high usually take 30 to 45 seconds for standard quality, and up to about a minute for 4K high quality.
What's the difference between GPT Image 1.5 high and Nano Banana 2?
GPT Image 1.5 high is stronger for text inside images and premium ad creative. Nano Banana 2 is faster and cheaper. In production, compare both with the same prompt before choosing the final image.
Can I edit an existing image instead of generating from scratch?
Yes. Upload a reference image, then continue with image-to-image, masked edits, background removal, object cleanup, or compression inside the same workflow.
Stop guessing the model.
Run all three.
We route your prompt to GPT Image 1.5 high, Nano Banana 2, Z Image and more — same workbench, same prompt, side-by-side blind compare. 30 credits on signup, another 30 after your first successful image, and commercial rights at every tier.
30 + 30
Free credits
5+
SOTA models
30s
To first render


