Compress Images Without Visible Quality Loss: My Pre-Upload Checklist
A practical image compression workflow for product photos, AI renders, blog visuals, and store assets, with real file-size examples and visual checks.

David Chen
·4 min read

A beautiful image can still hurt a page if the file is too heavy.
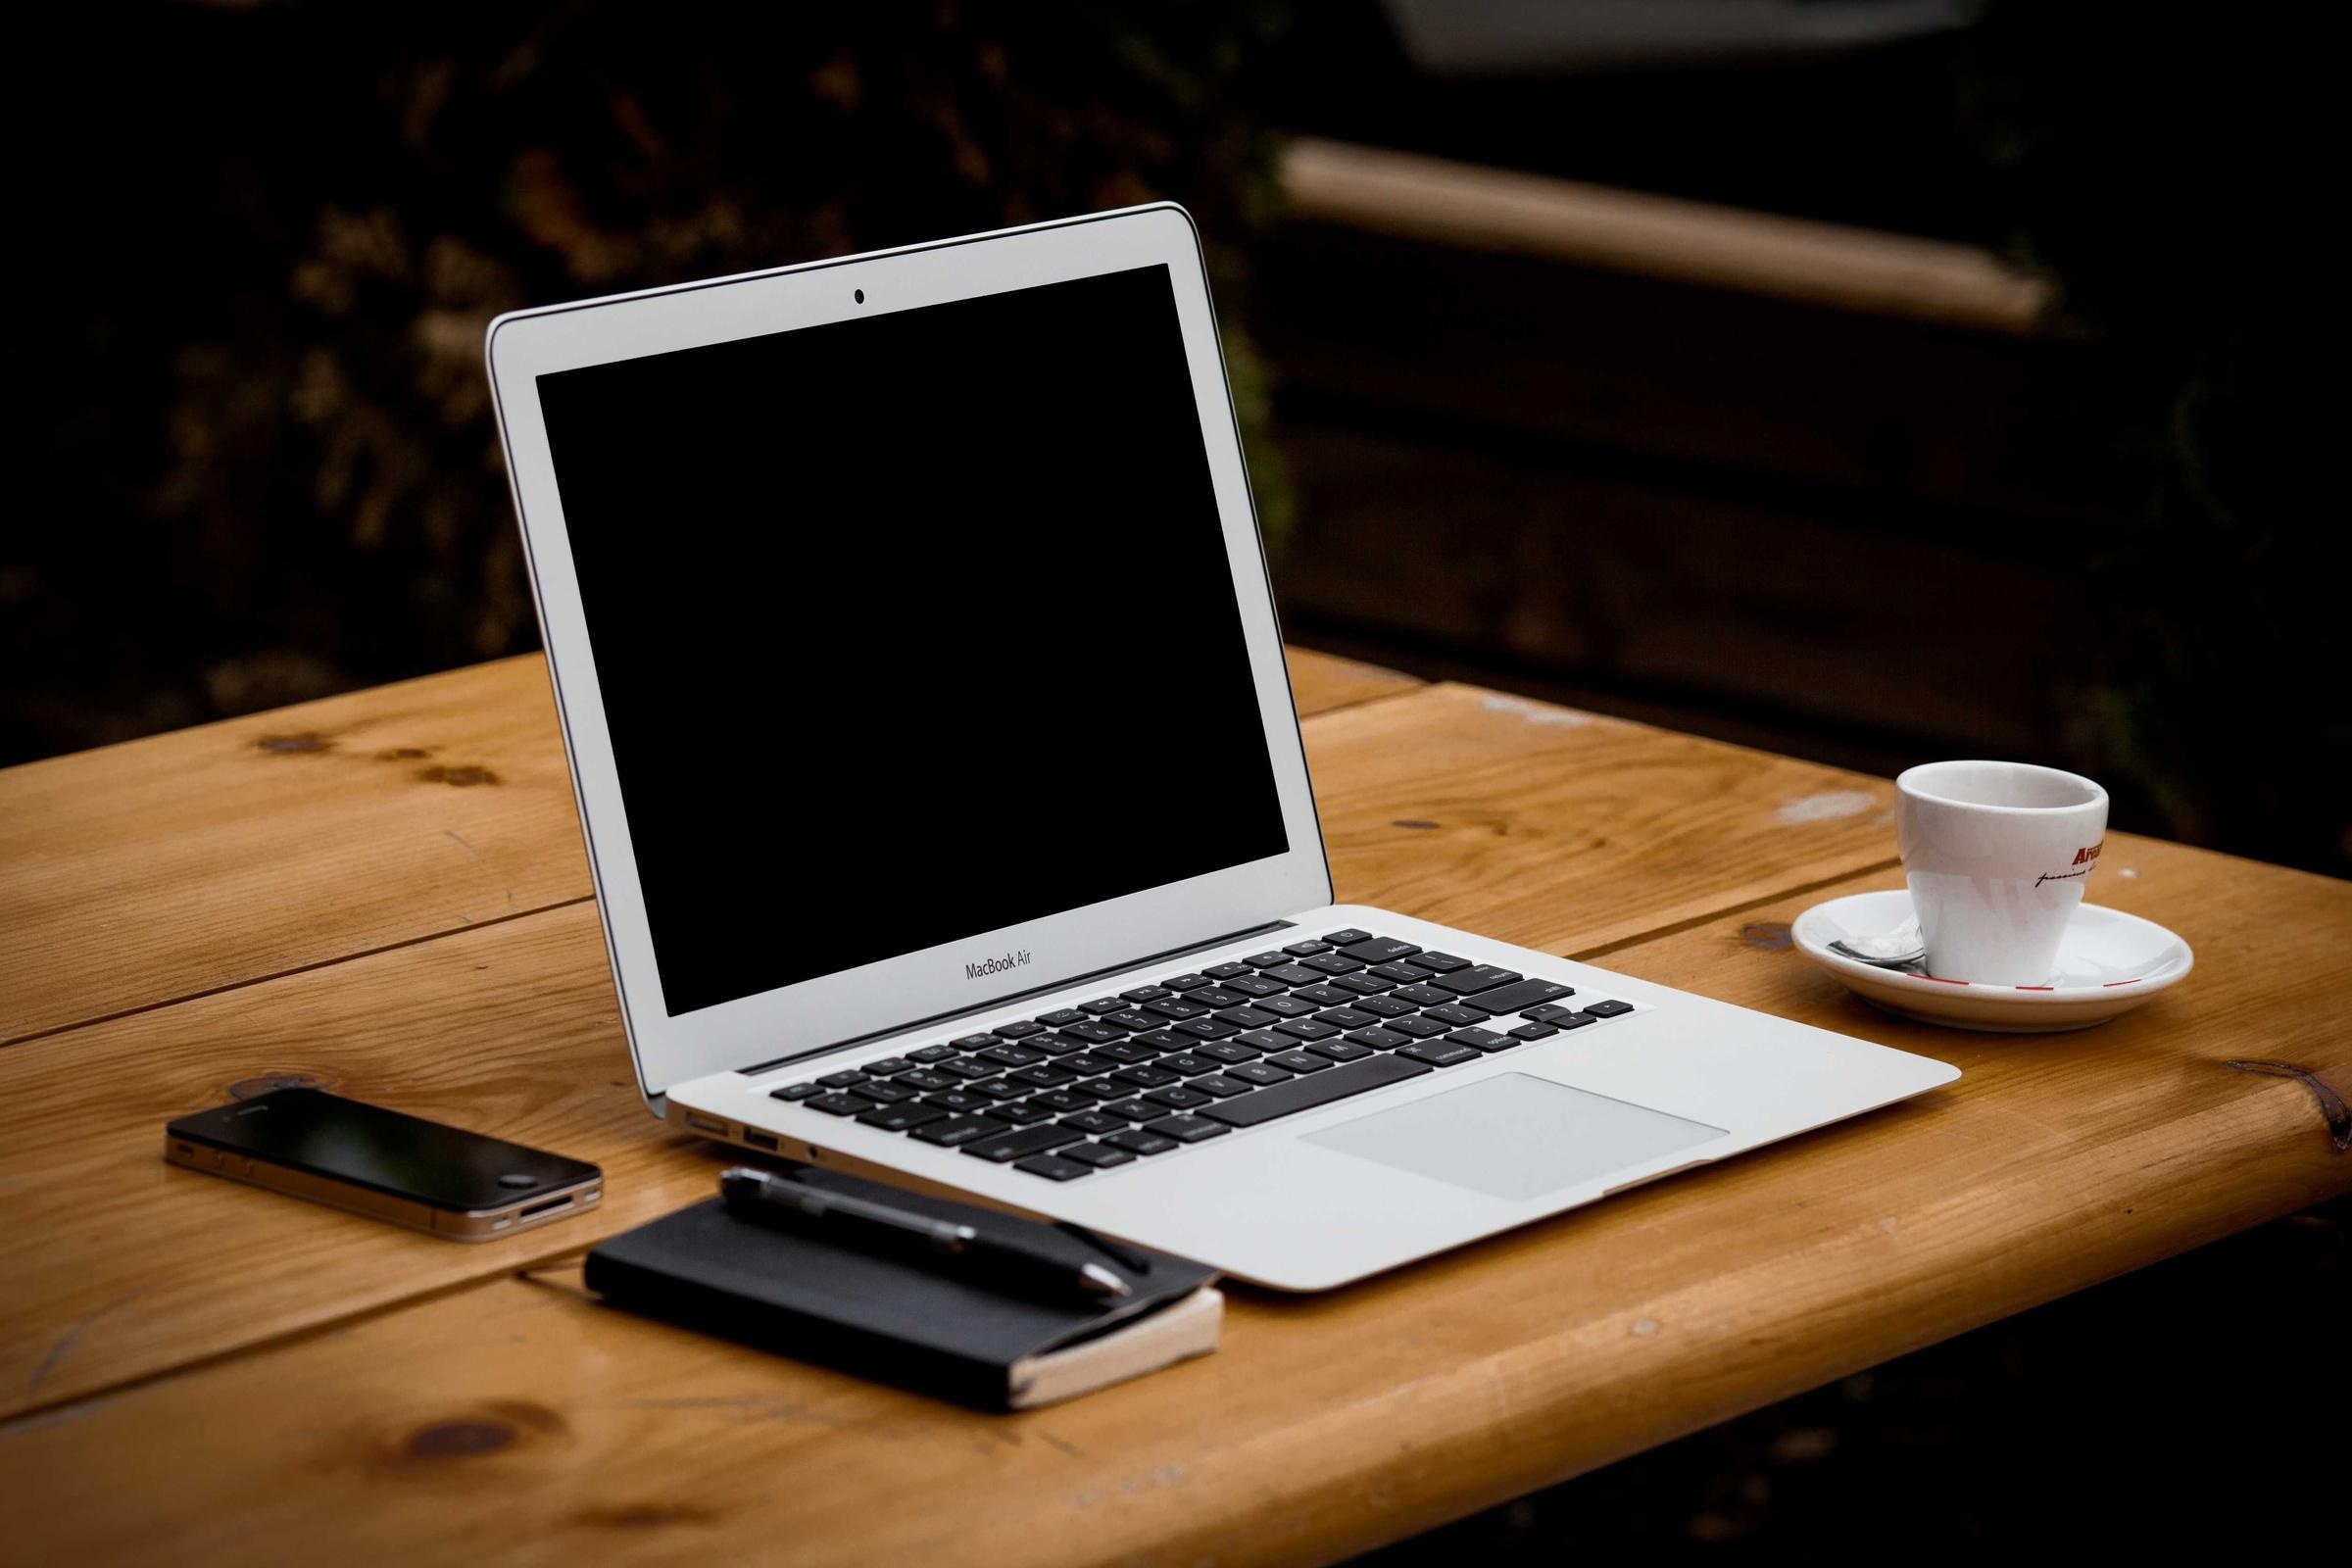
I tested six real images through the GPTIMG compression workflow in May 2026. The practical win was simple: reduce file size while keeping the image visually acceptable for the place it will be used.
One laptop photo went from about 320 KB to 100 KB. Another interior image went from about 504 KB to 140 KB. A larger export went from about 764 KB to 204 KB. That is the kind of reduction that matters when a page has 12 images instead of one.
Do not chase the smallest file. Chase the lightest file that still looks right.
What I check before compressing
The right compression setting depends on the image.
A clean product photo with soft gradients needs more care than a busy lifestyle image. A blog thumbnail can be smaller than a product hero. A transparent PNG may need a different export than a JPG photo.
Before I compress, I ask three questions:
- Where will this image appear: hero, product card, blog body, email, or social preview?
- Does it contain fine text, faces, glass, fabric, or smooth gradients?
- Is the original already compressed or freshly exported?
If the image has small text or product labels, I use a higher quality setting. If it is a busy background image, I can usually compress harder.
The workflow
Compression should be the last step, not the first.
- Finish the image: generate, remove background, erase distractions, or upscale.
- Open Compress image.
- Start around 80% visual quality.
- Compare the compressed result at full size.
- If the image still looks clean, try slightly lower.
- Download the smallest version you would still be proud to publish.
The full-size check matters. Compression problems usually appear around text edges, skin gradients, product labels, glass highlights, and dark shadows.
Make a finished image lighter before upload
Use compression after upscaling, background removal, or object cleanup so the final image loads faster.
A simple quality table
| Image type | Starting point | What to inspect |
|---|---|---|
| Product hero | 80-90% | labels, glass, edges, shadows |
| Blog image | 70-85% | faces, text, gradients |
| Store thumbnail | 65-80% | subject shape and color |
| Social preview | 75-85% | headline readability |
These are not fixed rules. They are safe starting points.
Mistakes that make images look cheap
Compressing before editing. If you compress first, then upscale or erase, you may amplify artifacts.
Using one setting for every image. A portrait, a screenshot, and a product render need different treatment.
Ignoring mobile. A file can look fine on desktop and messy on a phone if the important detail becomes too soft.
Keeping the original filename forever. Save versions clearly so the team knows which file is final.
Compression is part of finishing
Image compression does not feel as exciting as generation or upscaling, but it is the step that makes the final asset easier to ship.
If you have already made a clean product image, transparent PNG, or sharpened poster, do not stop at the heavy export. Run one compression pass, compare the result, and keep the smallest version that still looks like your work.
Frequently asked questions
Do I need a credit card to try GPT Image2 Studio?
No. Every new account starts with 30 credits on signup, then unlocks 30 more after the first successful image. Paid plans only kick in if you want more than the free ceiling.
Can I use the generated images commercially?
Yes. Every tier, including the free starter credits, comes with full commercial rights. Run ads, sell products, print on merchandise, publish on any platform. No watermark, no attribution required.
Which model should I route to for what?
Hero ads and text-heavy creative fit GPT Image 1.5 high. Product and macro texture work fit Nano Banana Pro. High-volume social iteration fits Nano Banana 2. Fast drafts and mood boards fit Z Image. The workbench can route one prompt across all of them.
How fast is a single generation?
Z Image returns in about 10 seconds. Nano Banana 2 often returns in 15 to 20 seconds. Nano Banana Pro and GPT Image 1.5 high usually take 30 to 45 seconds for standard quality, and up to about a minute for 4K high quality.
What's the difference between GPT Image 1.5 high and Nano Banana 2?
GPT Image 1.5 high is stronger for text inside images and premium ad creative. Nano Banana 2 is faster and cheaper. In production, compare both with the same prompt before choosing the final image.
Can I edit an existing image instead of generating from scratch?
Yes. Upload a reference image, then continue with image-to-image, masked edits, background removal, object cleanup, or compression inside the same workflow.
Stop guessing the model.
Run all three.
We route your prompt to GPT Image 1.5 high, Nano Banana 2, Z Image and more — same workbench, same prompt, side-by-side blind compare. 30 credits on signup, another 30 after your first successful image, and commercial rights at every tier.
30 + 30
Free credits
5+
SOTA models
30s
To first render


