GPT Image2
Real sampleDrag the divider to inspect detail


Drag the divider to inspect detail
Lightweight web export
Large original JPG
Export-ready, lightweight images
Compress images online without visible quality loss
Reduce image file size after generation, background removal, or upscaling. Keep quality high, make pages faster, and avoid upload limits.
Open compressor
Upload JPG, PNG, or WebP files. Client-side compression is planned for privacy.
No image on hand? Try one of these


Input
JPG, PNG, WebP
Output
JPG, PNG, WebP
Settings
Visual quality94%
Compression runs locally in your browser. No upload, no credits.
Best fit
Best for finished images that look right but are too heavy for pages, stores, email, or uploads.
Watch first
Compression will not fix a blurry source; upscale or repair the image before final export.
Next move
Use it as the last step after generation, background removal, upscaling, or cleanup.
Quality slider
Target file size
JPG, PNG, or WebP output
Examples
Check what gets smaller and what still looks publishable
Compression is only useful when the image still feels good enough for the page, store, email, or client preview you are shipping.

612 KB web export
Drag to compare
Smaller share file
High-quality original
Make a portrait easier to upload
Good for profile images, client previews, and support-ticket uploads with size limits.
612 KB web export
Drag to compare
Fast storefront image
Heavy product file
Shrink product photos for store speed
Product photos often need compression after background removal or upscaling.

612 KB web export
Drag to compare
Smaller web asset
Large workspace photo
Compress a workspace export
A practical compression story for documentation, Notion pages, and client previews.

612 KB web export
Drag to compare
CMS-ready export
Heavy editorial image
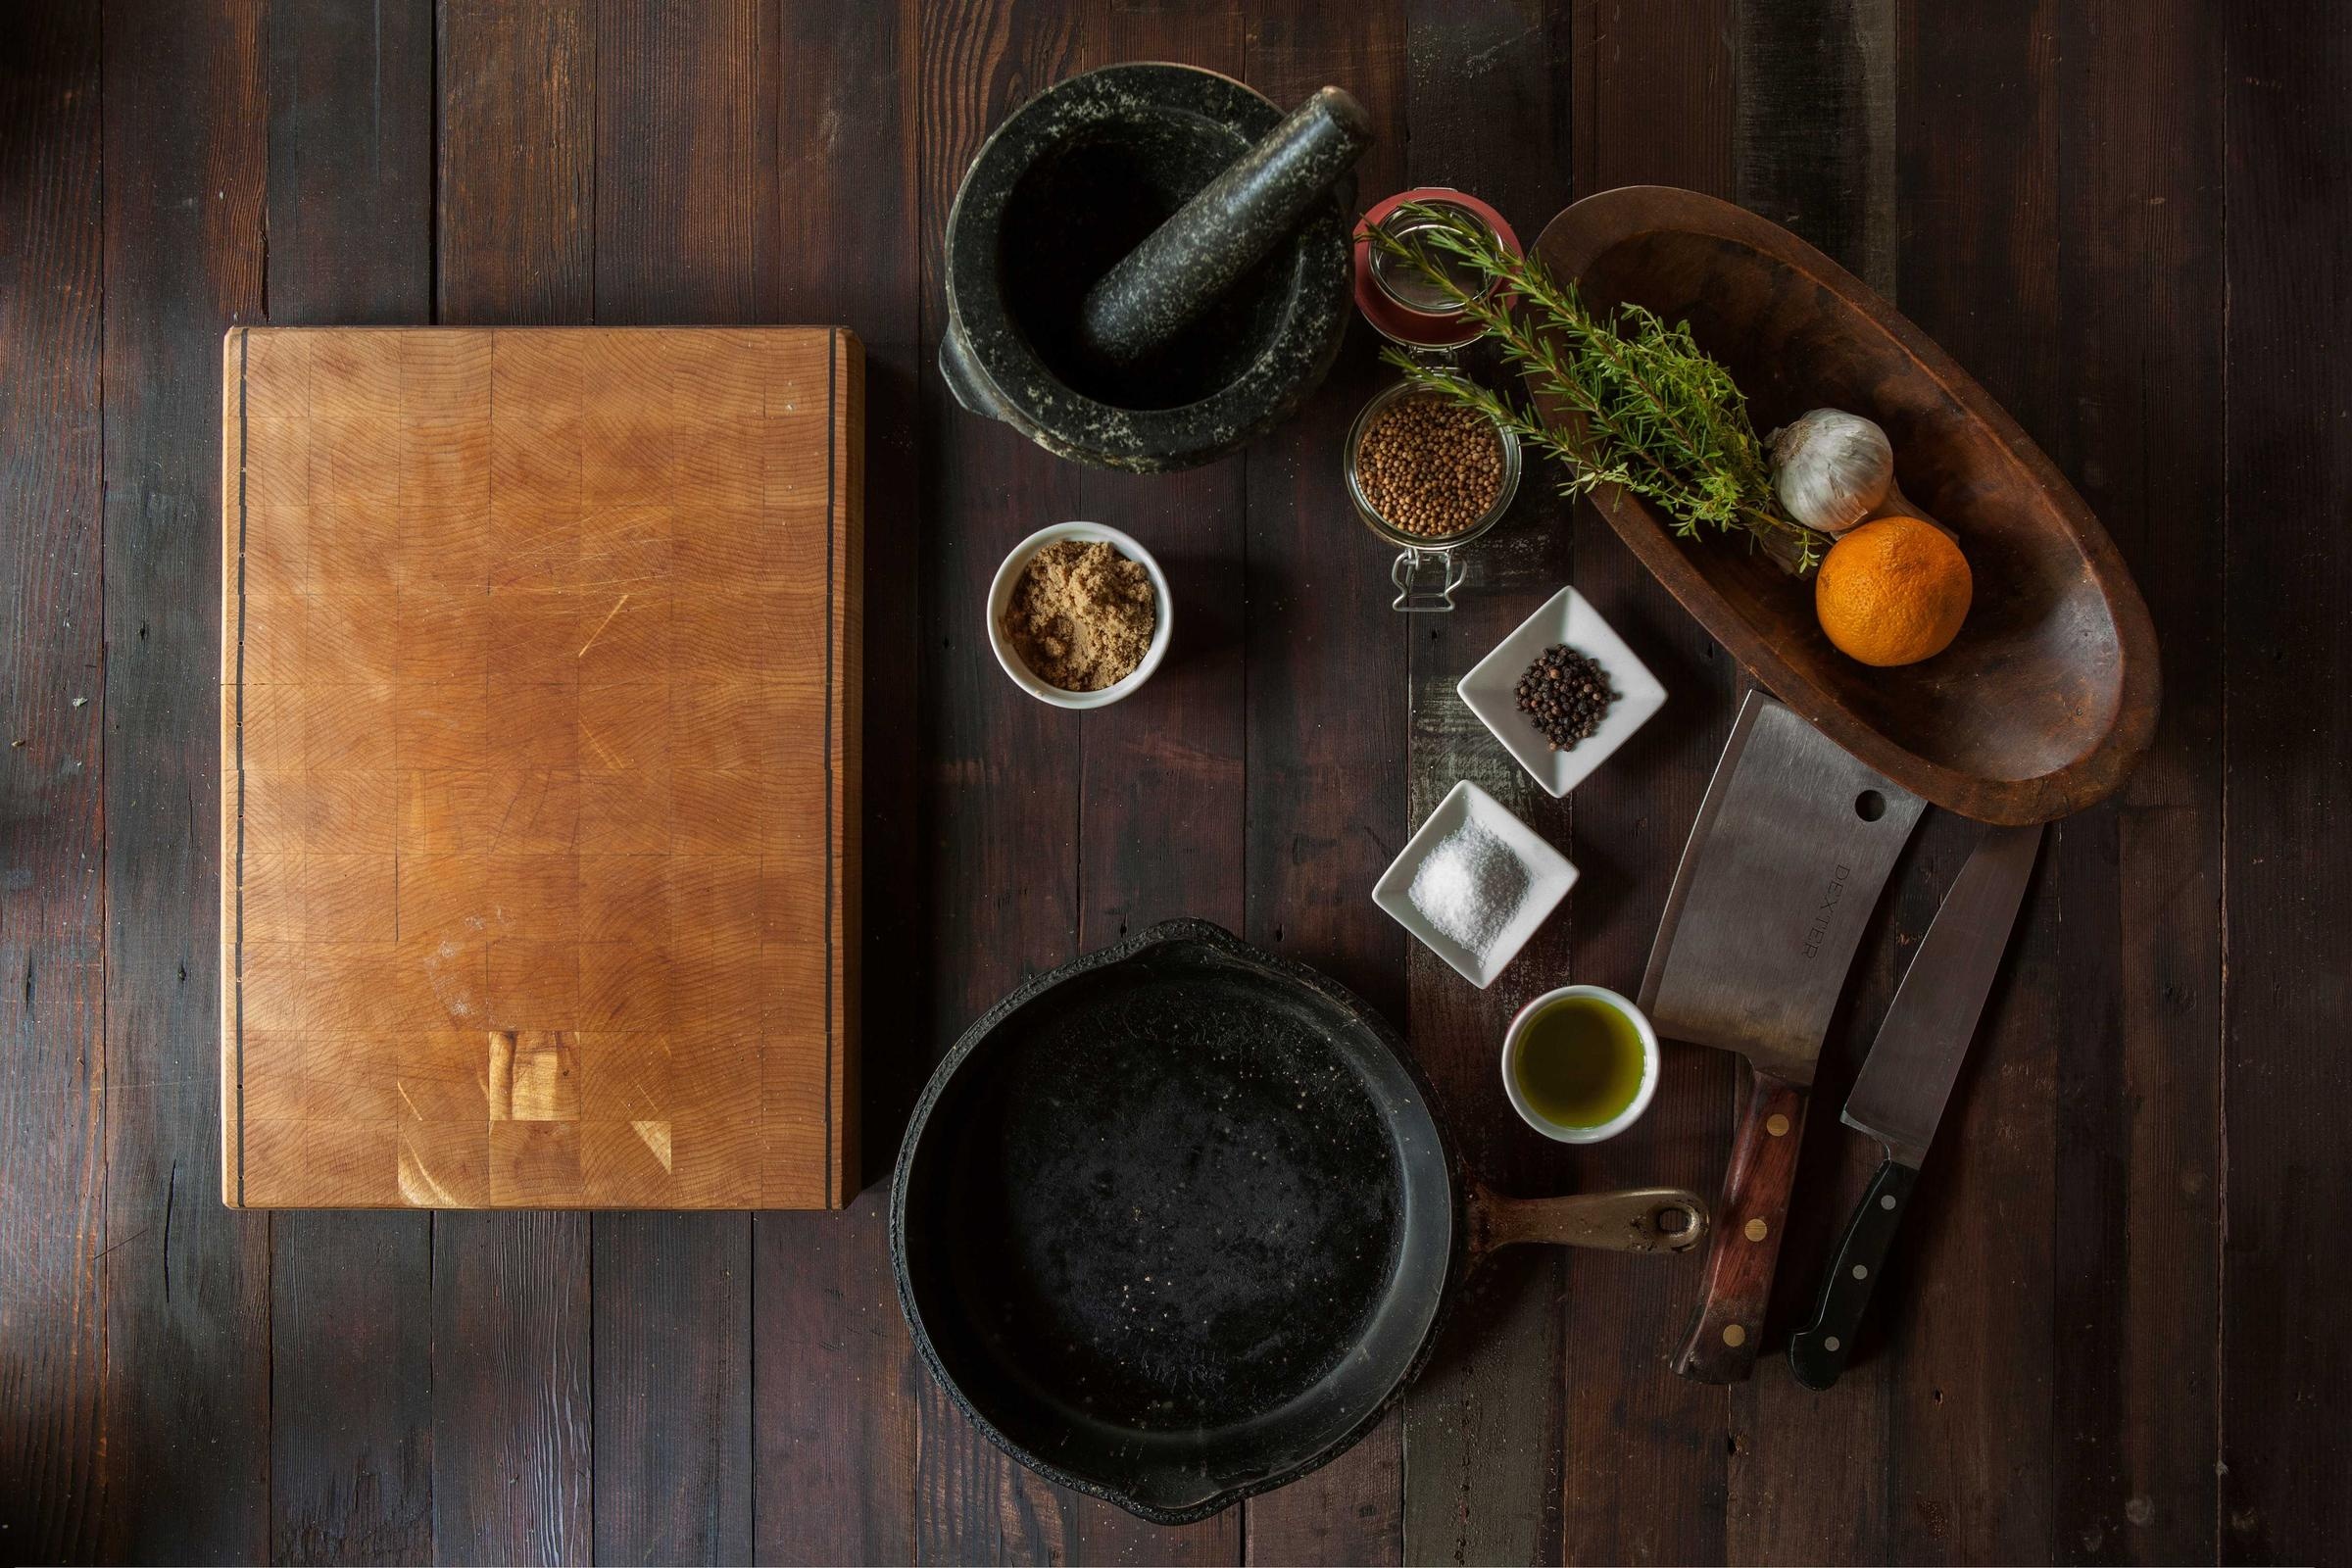
Shrink a blog desk hero image
Useful for tutorials, dashboards, reports, and image-heavy blog pages.

612 KB web export
Drag to compare
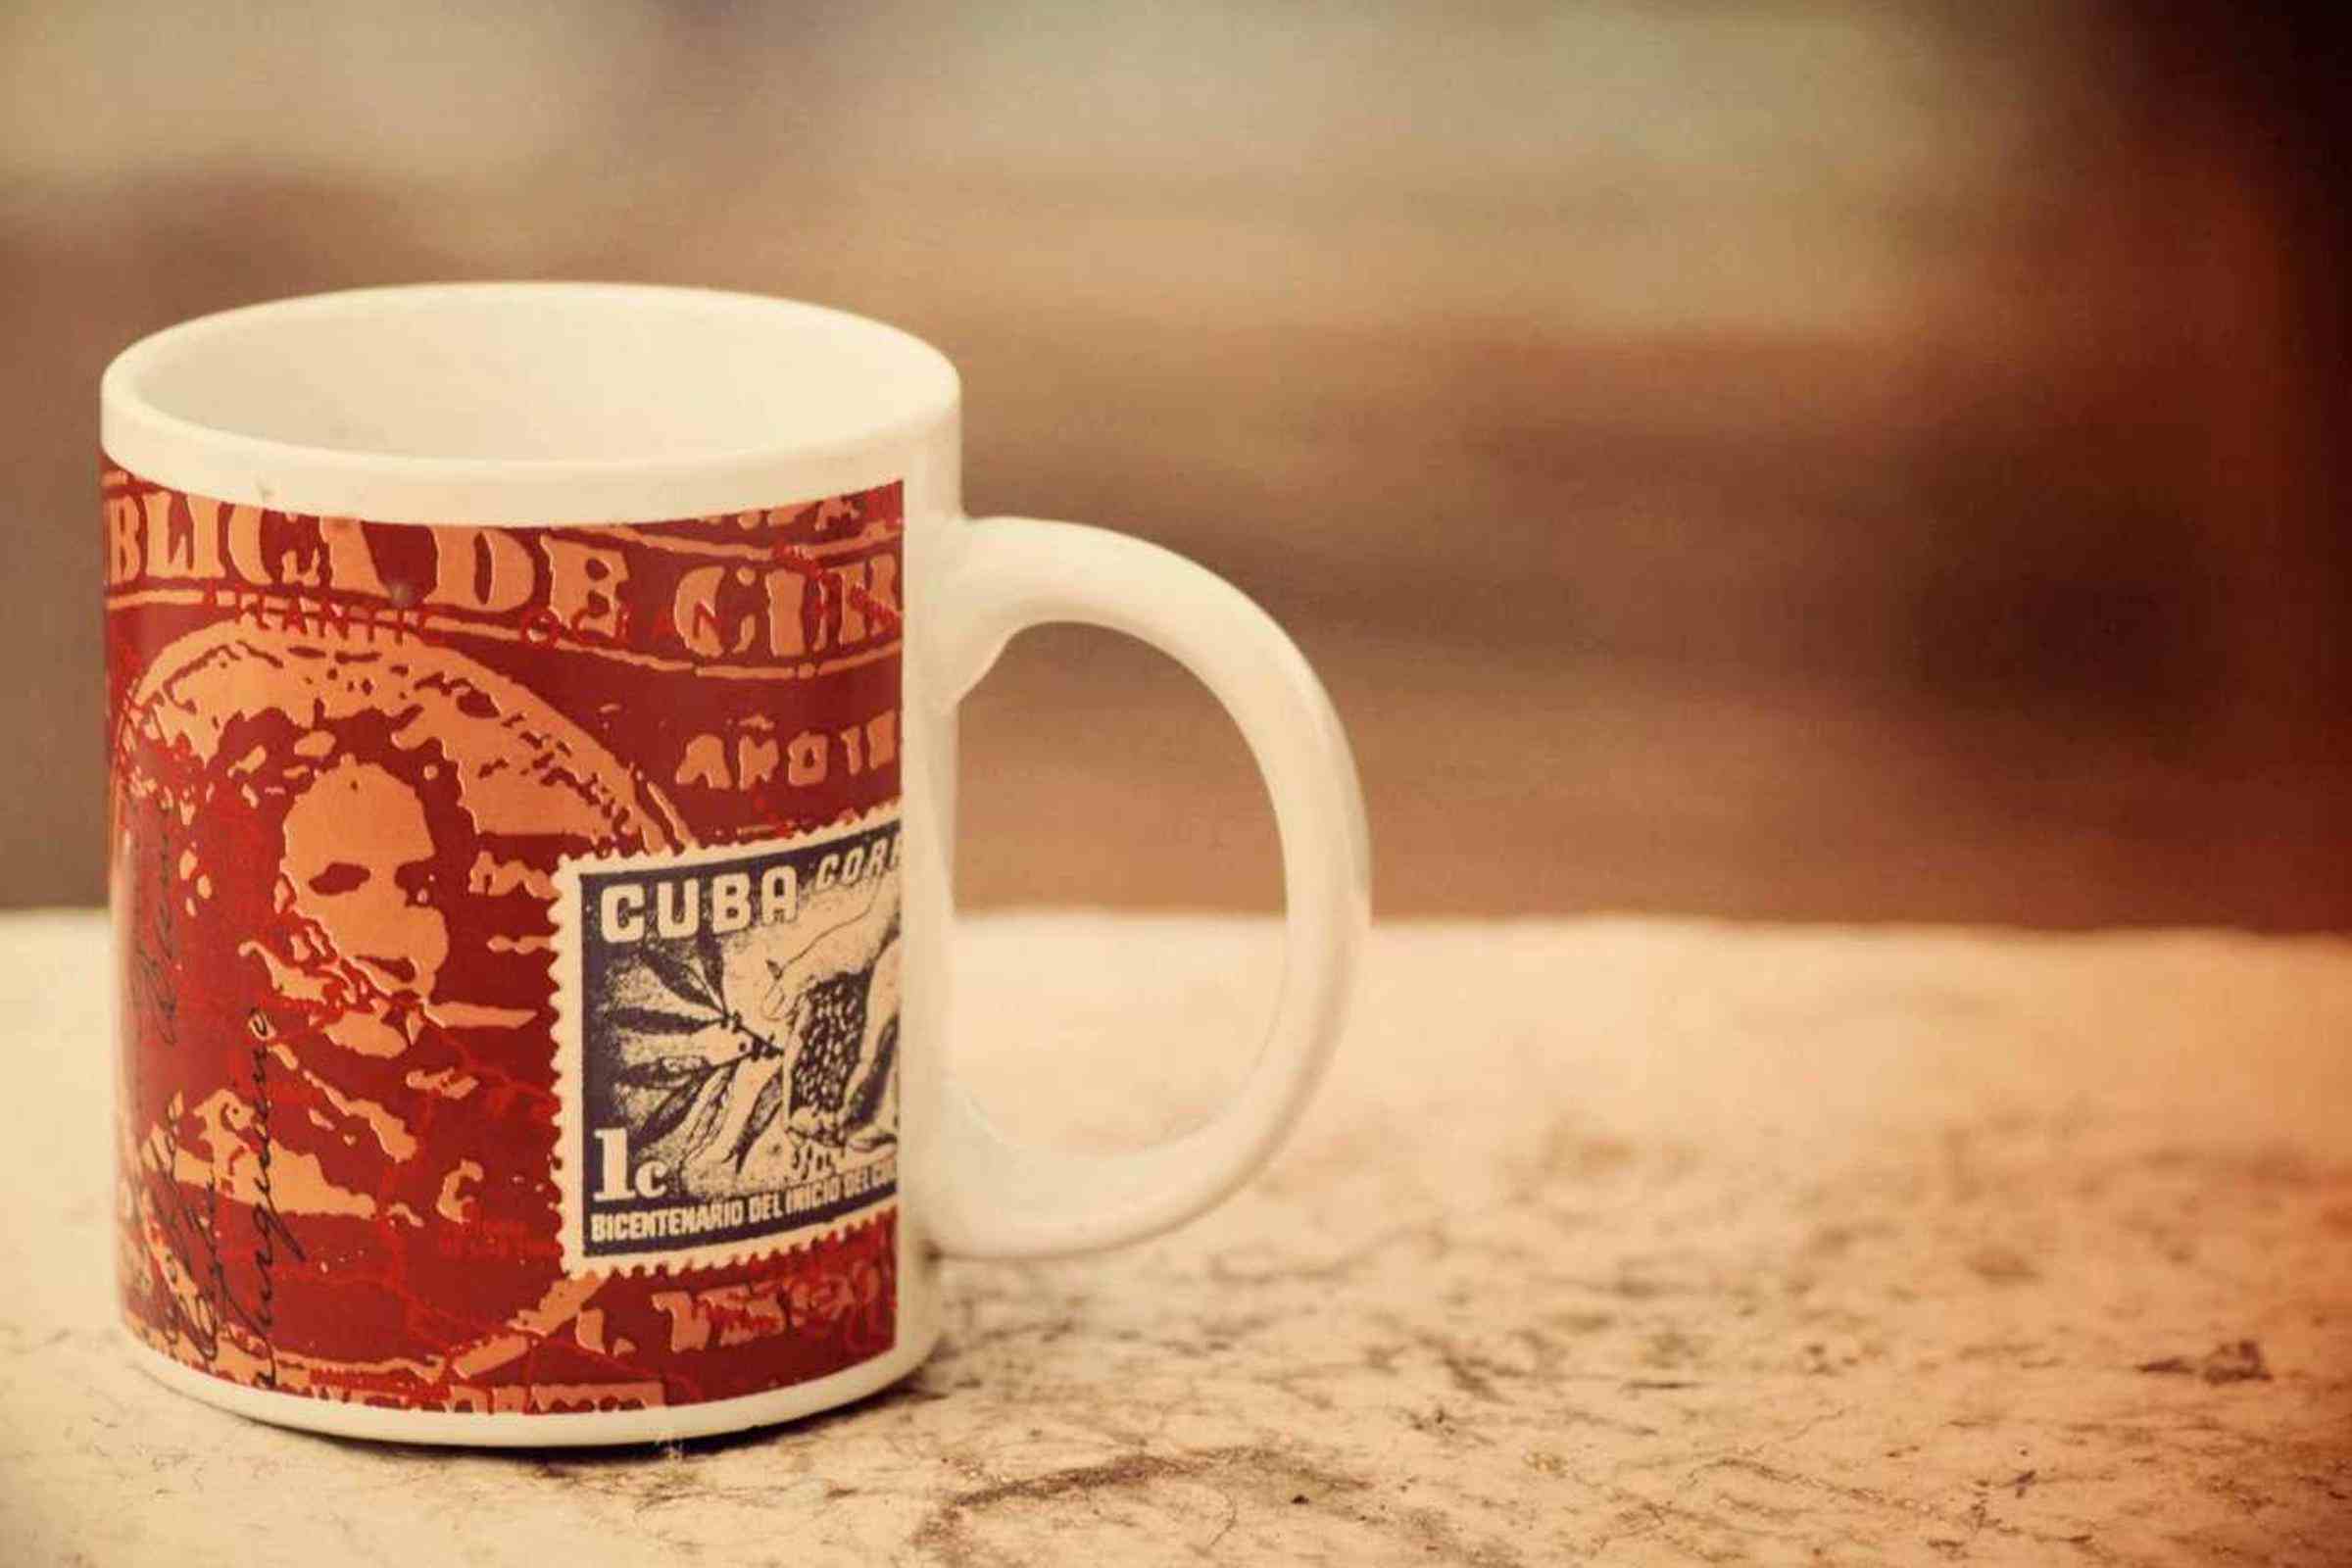
Fast-loading web file
Large editorial file
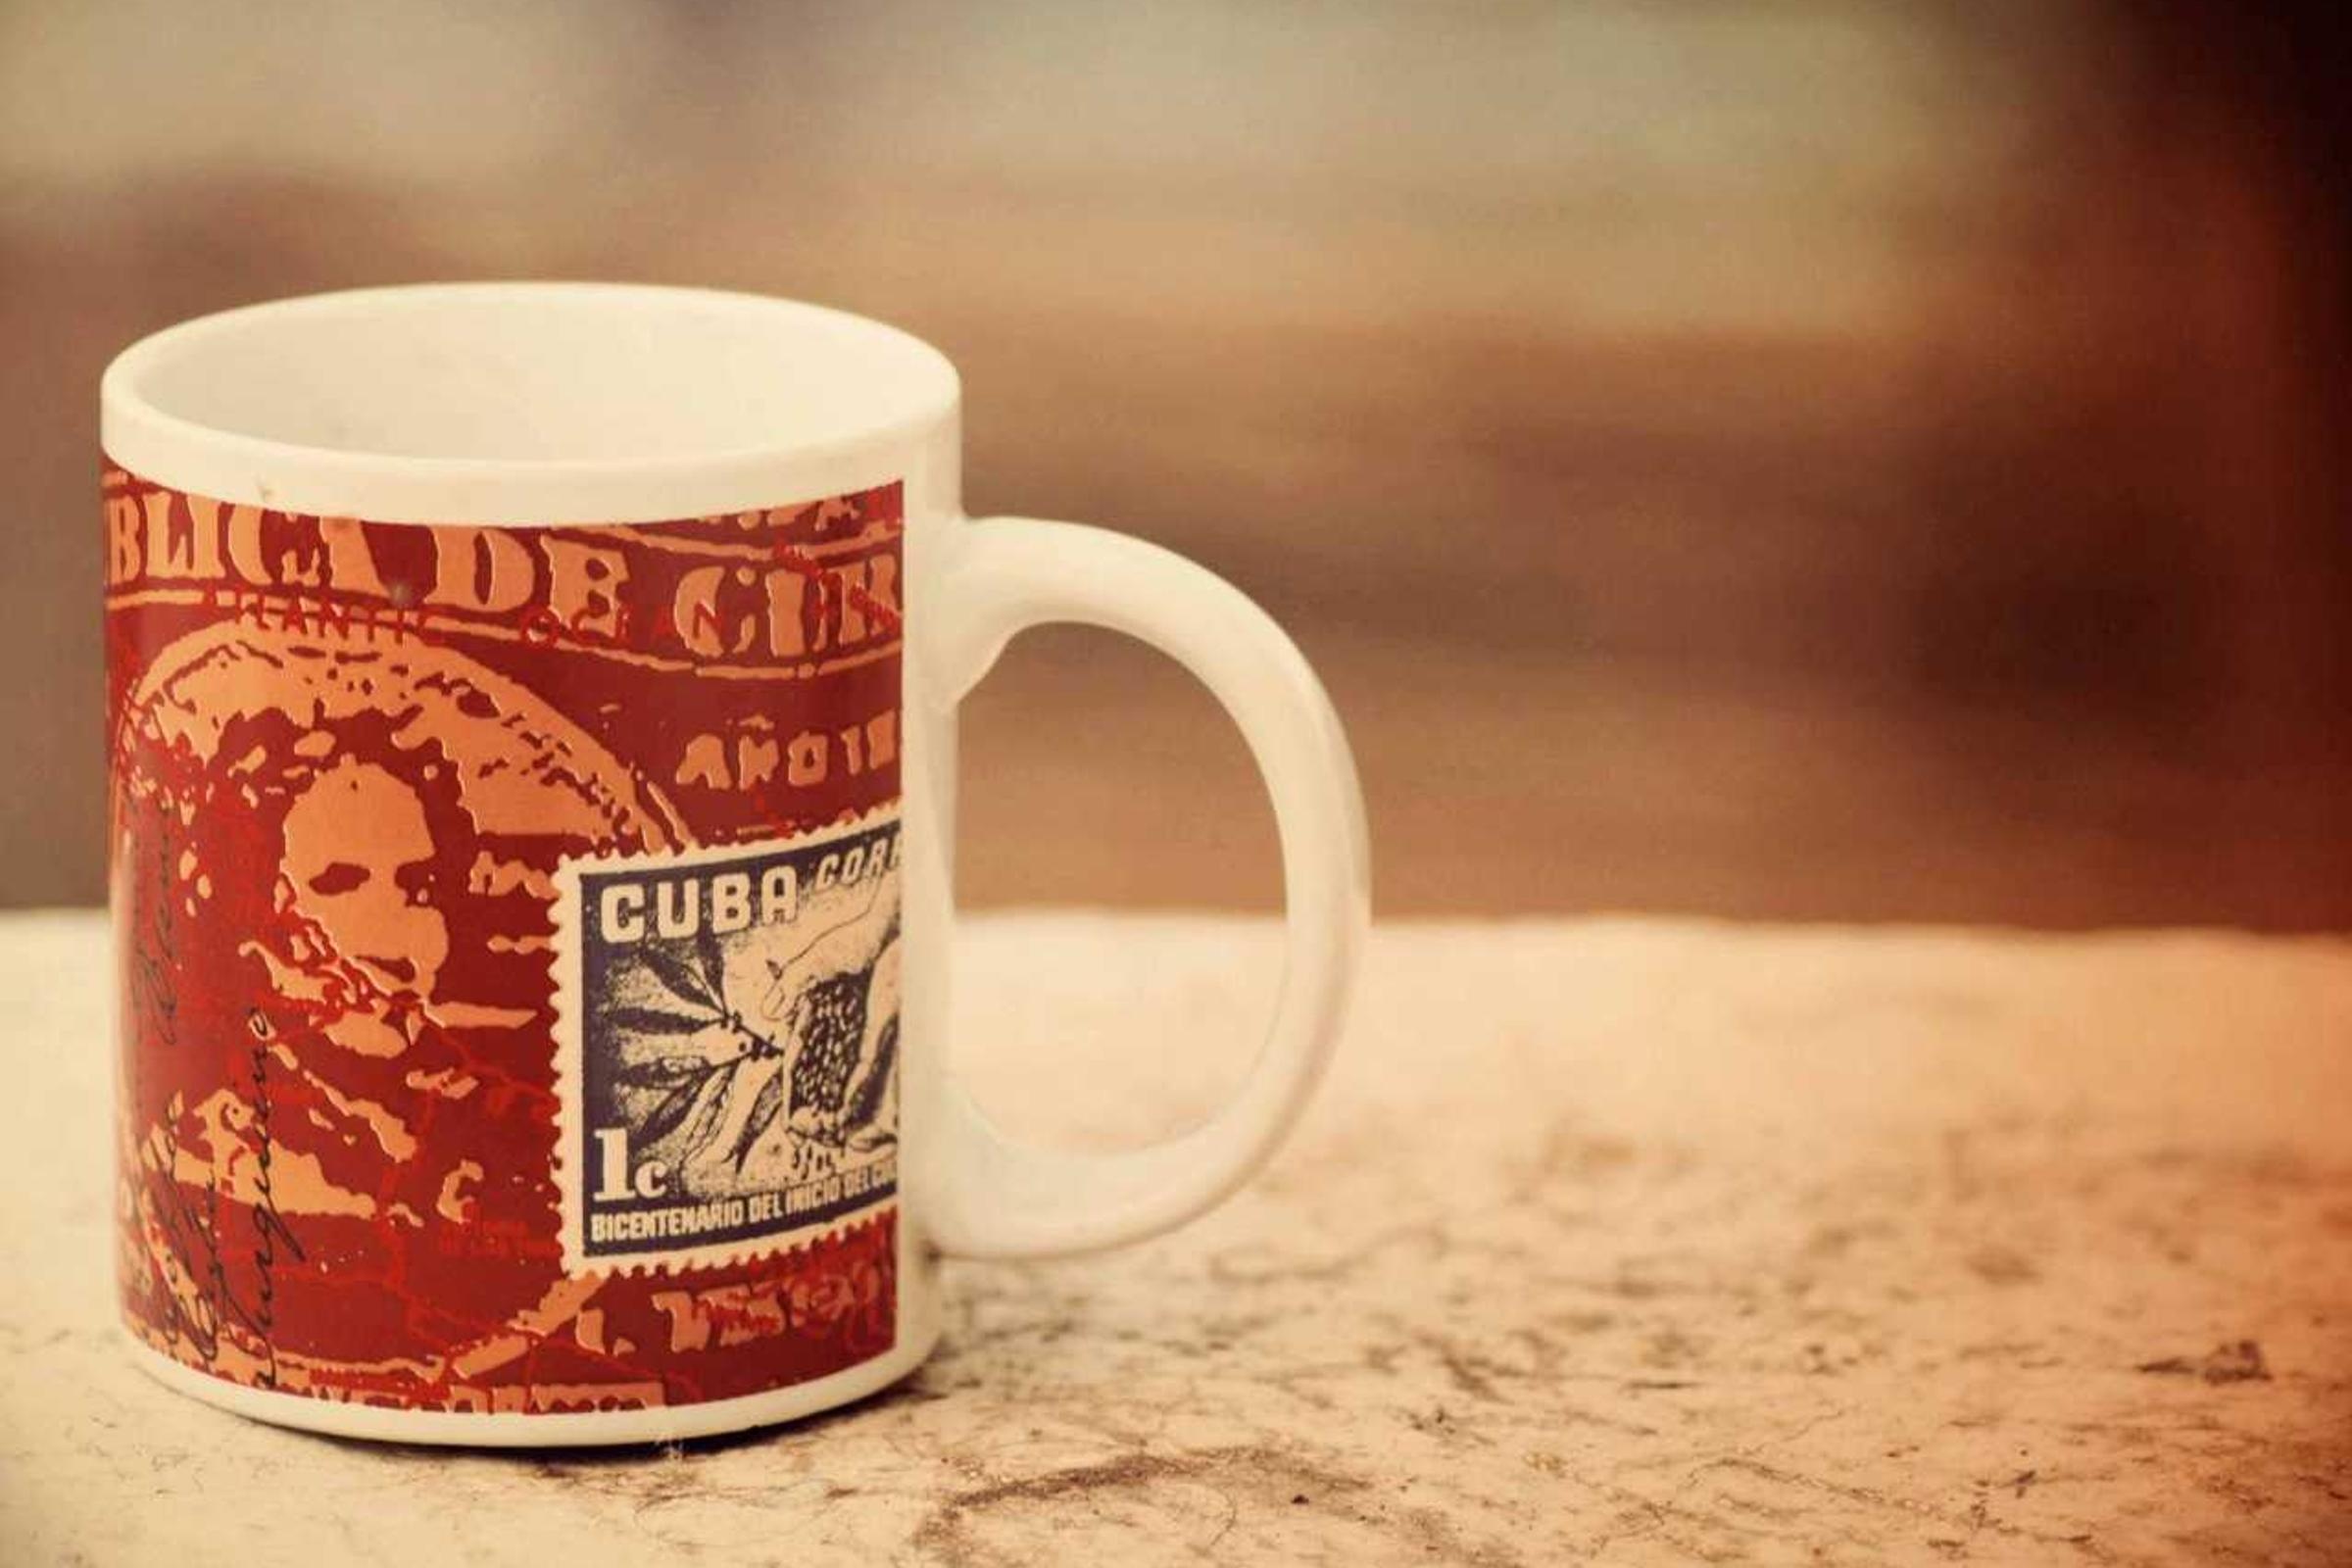
Compress food and product editorial shots
A rich still-life image shows that compression can stay polished enough for publishing.
Use cases
Not a one-off utility. It is the next step after generation.
The page stays focused for search, but it also teaches users what else GPTIMG can finish from the same image.
Website speed
Compress hero images, product photos, and blog visuals before they slow down a page.
Marketplace and CMS limits
Shrink images for Shopify, WordPress, Notion, email, and support-ticket uploads.
Final step after AI edits
After upscale, remove background, or erase, export a lighter version for actual publishing.
Connected tools
One finished image usually needs one more move
After the first edit, keep the same asset moving through the rest of the suite instead of uploading it somewhere else.
Upscale if it looks too small
If compression reveals a low-res source, sharpen it before final export.
Open Image Upscaler Online for free via AI
Remove background first
For product images, cut out the subject before compressing the final file.
Open Remove image backgrounds with AI
Erase distractions first
Clean marks or clutter before creating the final lightweight export.
Open Remove unwanted objects from images
Workflows
Popular finishing paths
These are the combinations users naturally need after generating or uploading an image.
Website image workflow
Sharpen the image if needed, remove visual issues, then compress for page speed.
Product listing workflow
Prepare a clean product cutout, enlarge it, and export a fast-loading product image.
Trust
Clear limits make the tool easier to trust
Each page explains what the feature changes, which files it supports, what costs apply, and when another editing step is the better next move.
Compression should be free and separate from AI credits.
Browser-side compression is better for private screenshots and client files.
Use compression as the final export step after image editing.
1
Upload finished images
Start with the image you want to publish, share, or upload to a store, CMS, or email.
2
Choose quality and format
Use a quality slider and format choice to balance visual quality and file size.
3
Download or continue editing
Save the smaller file, or go back to upscale, background removal, or erasing if the image still needs finishing.
Should I compress before or after upscaling?
Compress last. Upscaling increases size and detail, so compression is usually the final export step before publishing.
Is image compression an AI edit?
No. Compression is planned as a browser-side export tool. The AI tools are upscale, background removal, and erase.
Will my image be uploaded for compression?
The planned compressor is client-side, so compression can happen in the browser without sending the image to an AI provider.