GPT Image2
Real sampleDrag the divider to inspect detail
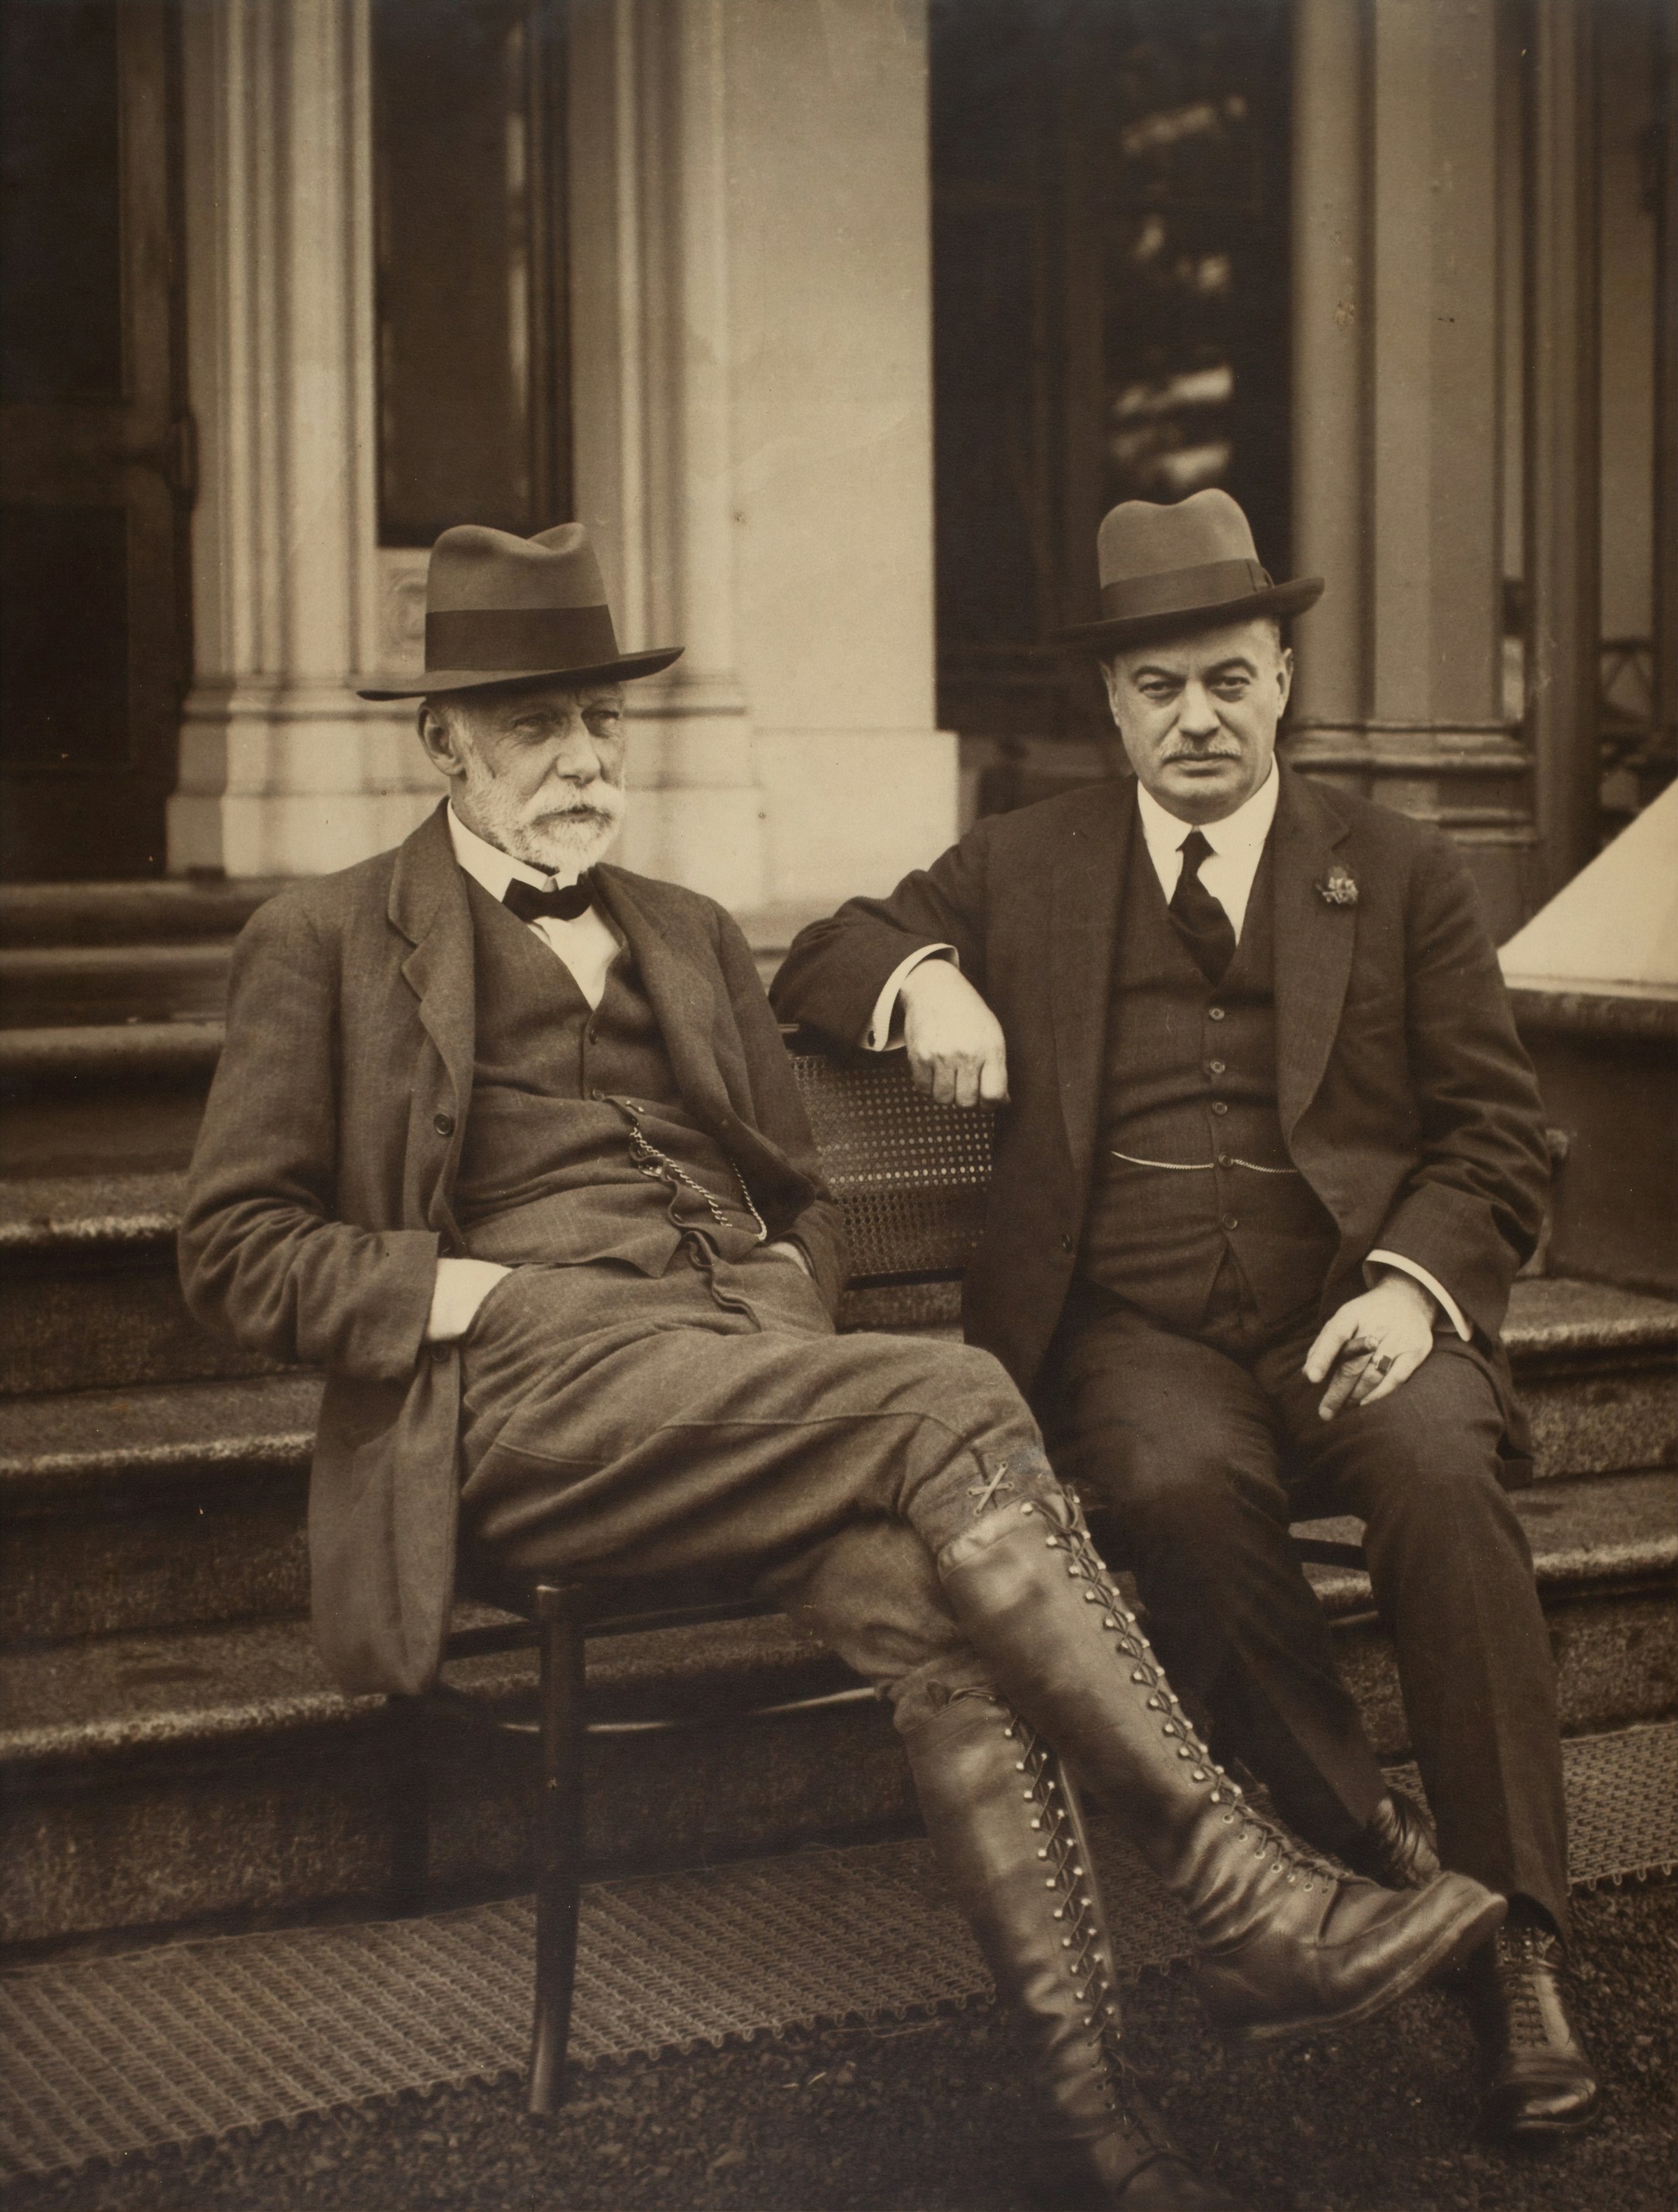
Drag the divider to inspect detail
Sharp 2400 px portrait
Tiny 194 px scan
Enhance after generation
Image Upscaler Online for free via AI
Turn a small render or uploaded photo into a cleaner 2x or 4x asset, then keep editing it with background removal, object cleanup, or web compression.
Start upscaling
Upload a render, product photo, poster, or portrait.
No image on hand? Try one of these
Input
JPG, PNG, WebP, HEIC
Output
PNG, JPG, WebP
Your first free run returns on the normal queue.
Best fit
Best when the subject is already right, but the file is too small for ads, product pages, or print review.
Watch first
Do not upscale broken anatomy, unreadable labels, or a wrong product shape; regenerate those first.
Next move
After the detail holds up, compress the final export or remove the background for a product layout.
2x or 4x scale
Fast or Magic quality
Photo, product, or illustration presets
Examples
See the resolution jump before you upload
Each sample shows the low-resolution source beside the sharper export so you can judge whether the tool matches your kind of image.
sharper 4096 px
Drag to compare
Clean 2400 px artwork
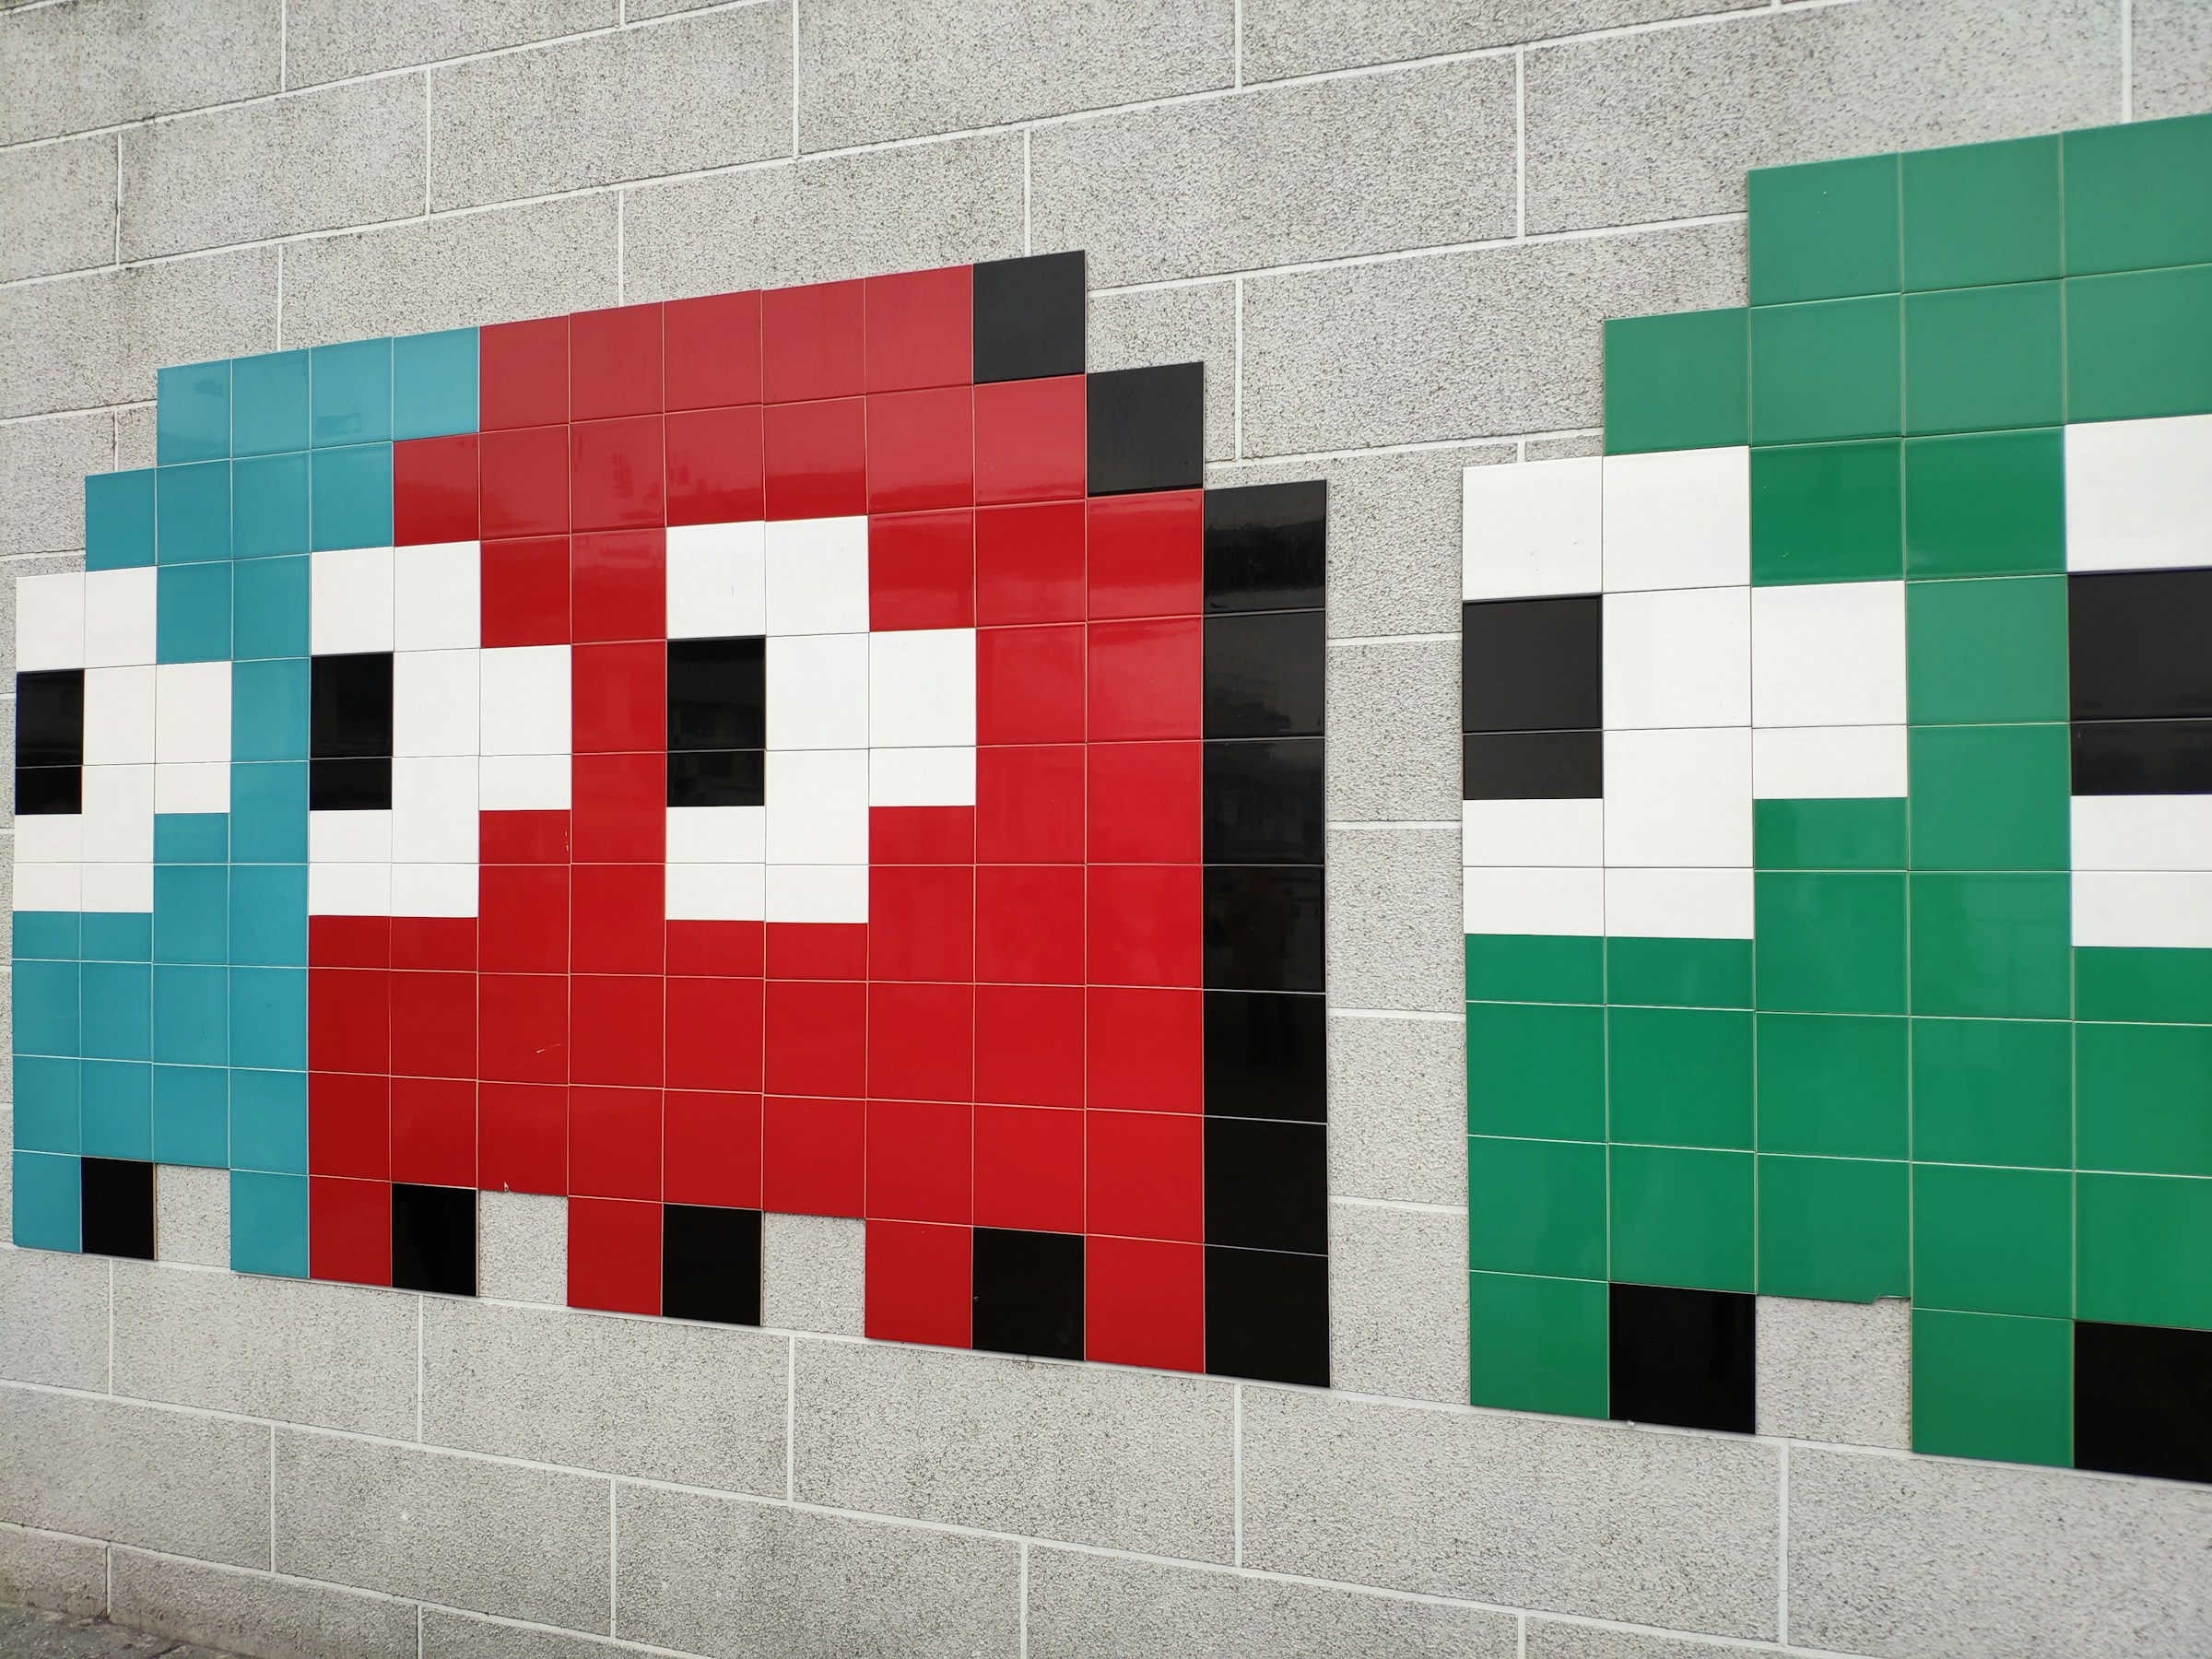
Pixelated 256 px source
Bring pixel art to poster size
Use this when a small game, icon, or retro visual needs to survive a larger crop.
sharper 4096 px
Drag to compare
Sharper product detail
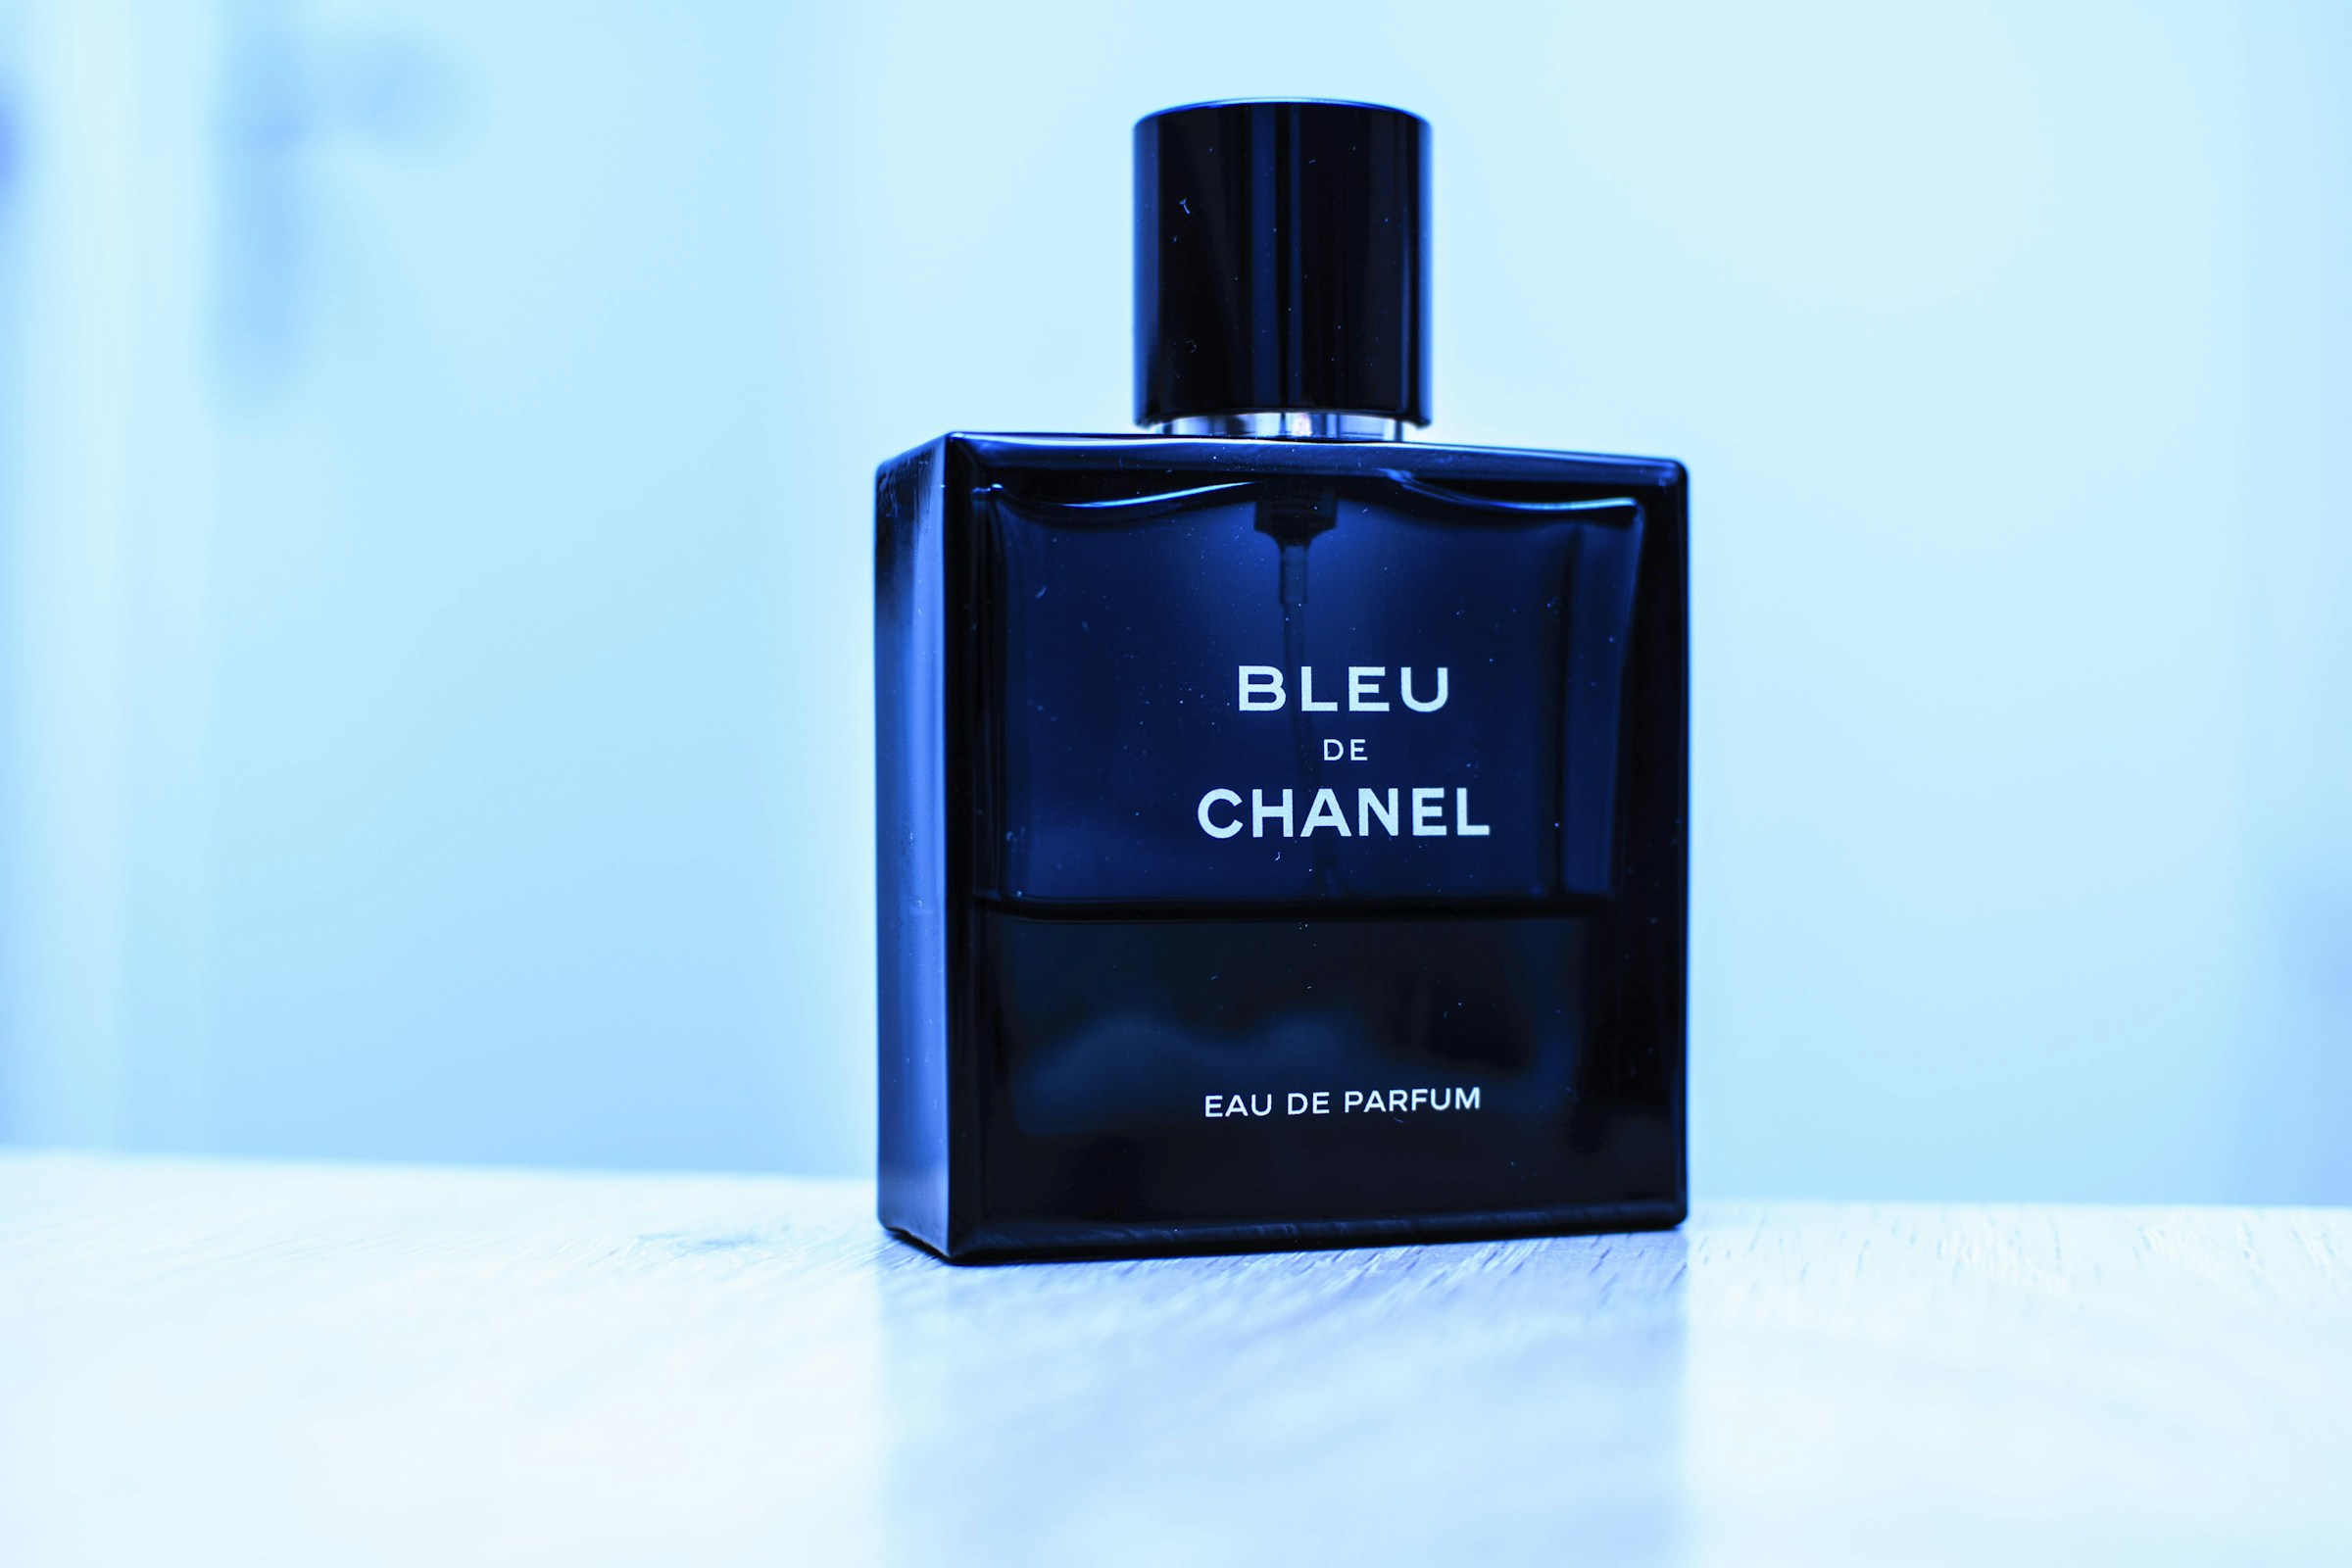
Small compressed product shot
Make a product photo feel premium
Perfume glass, cap edges, and highlights become easier to use in a store hero or ad.
sharper 4096 px
Drag to compare
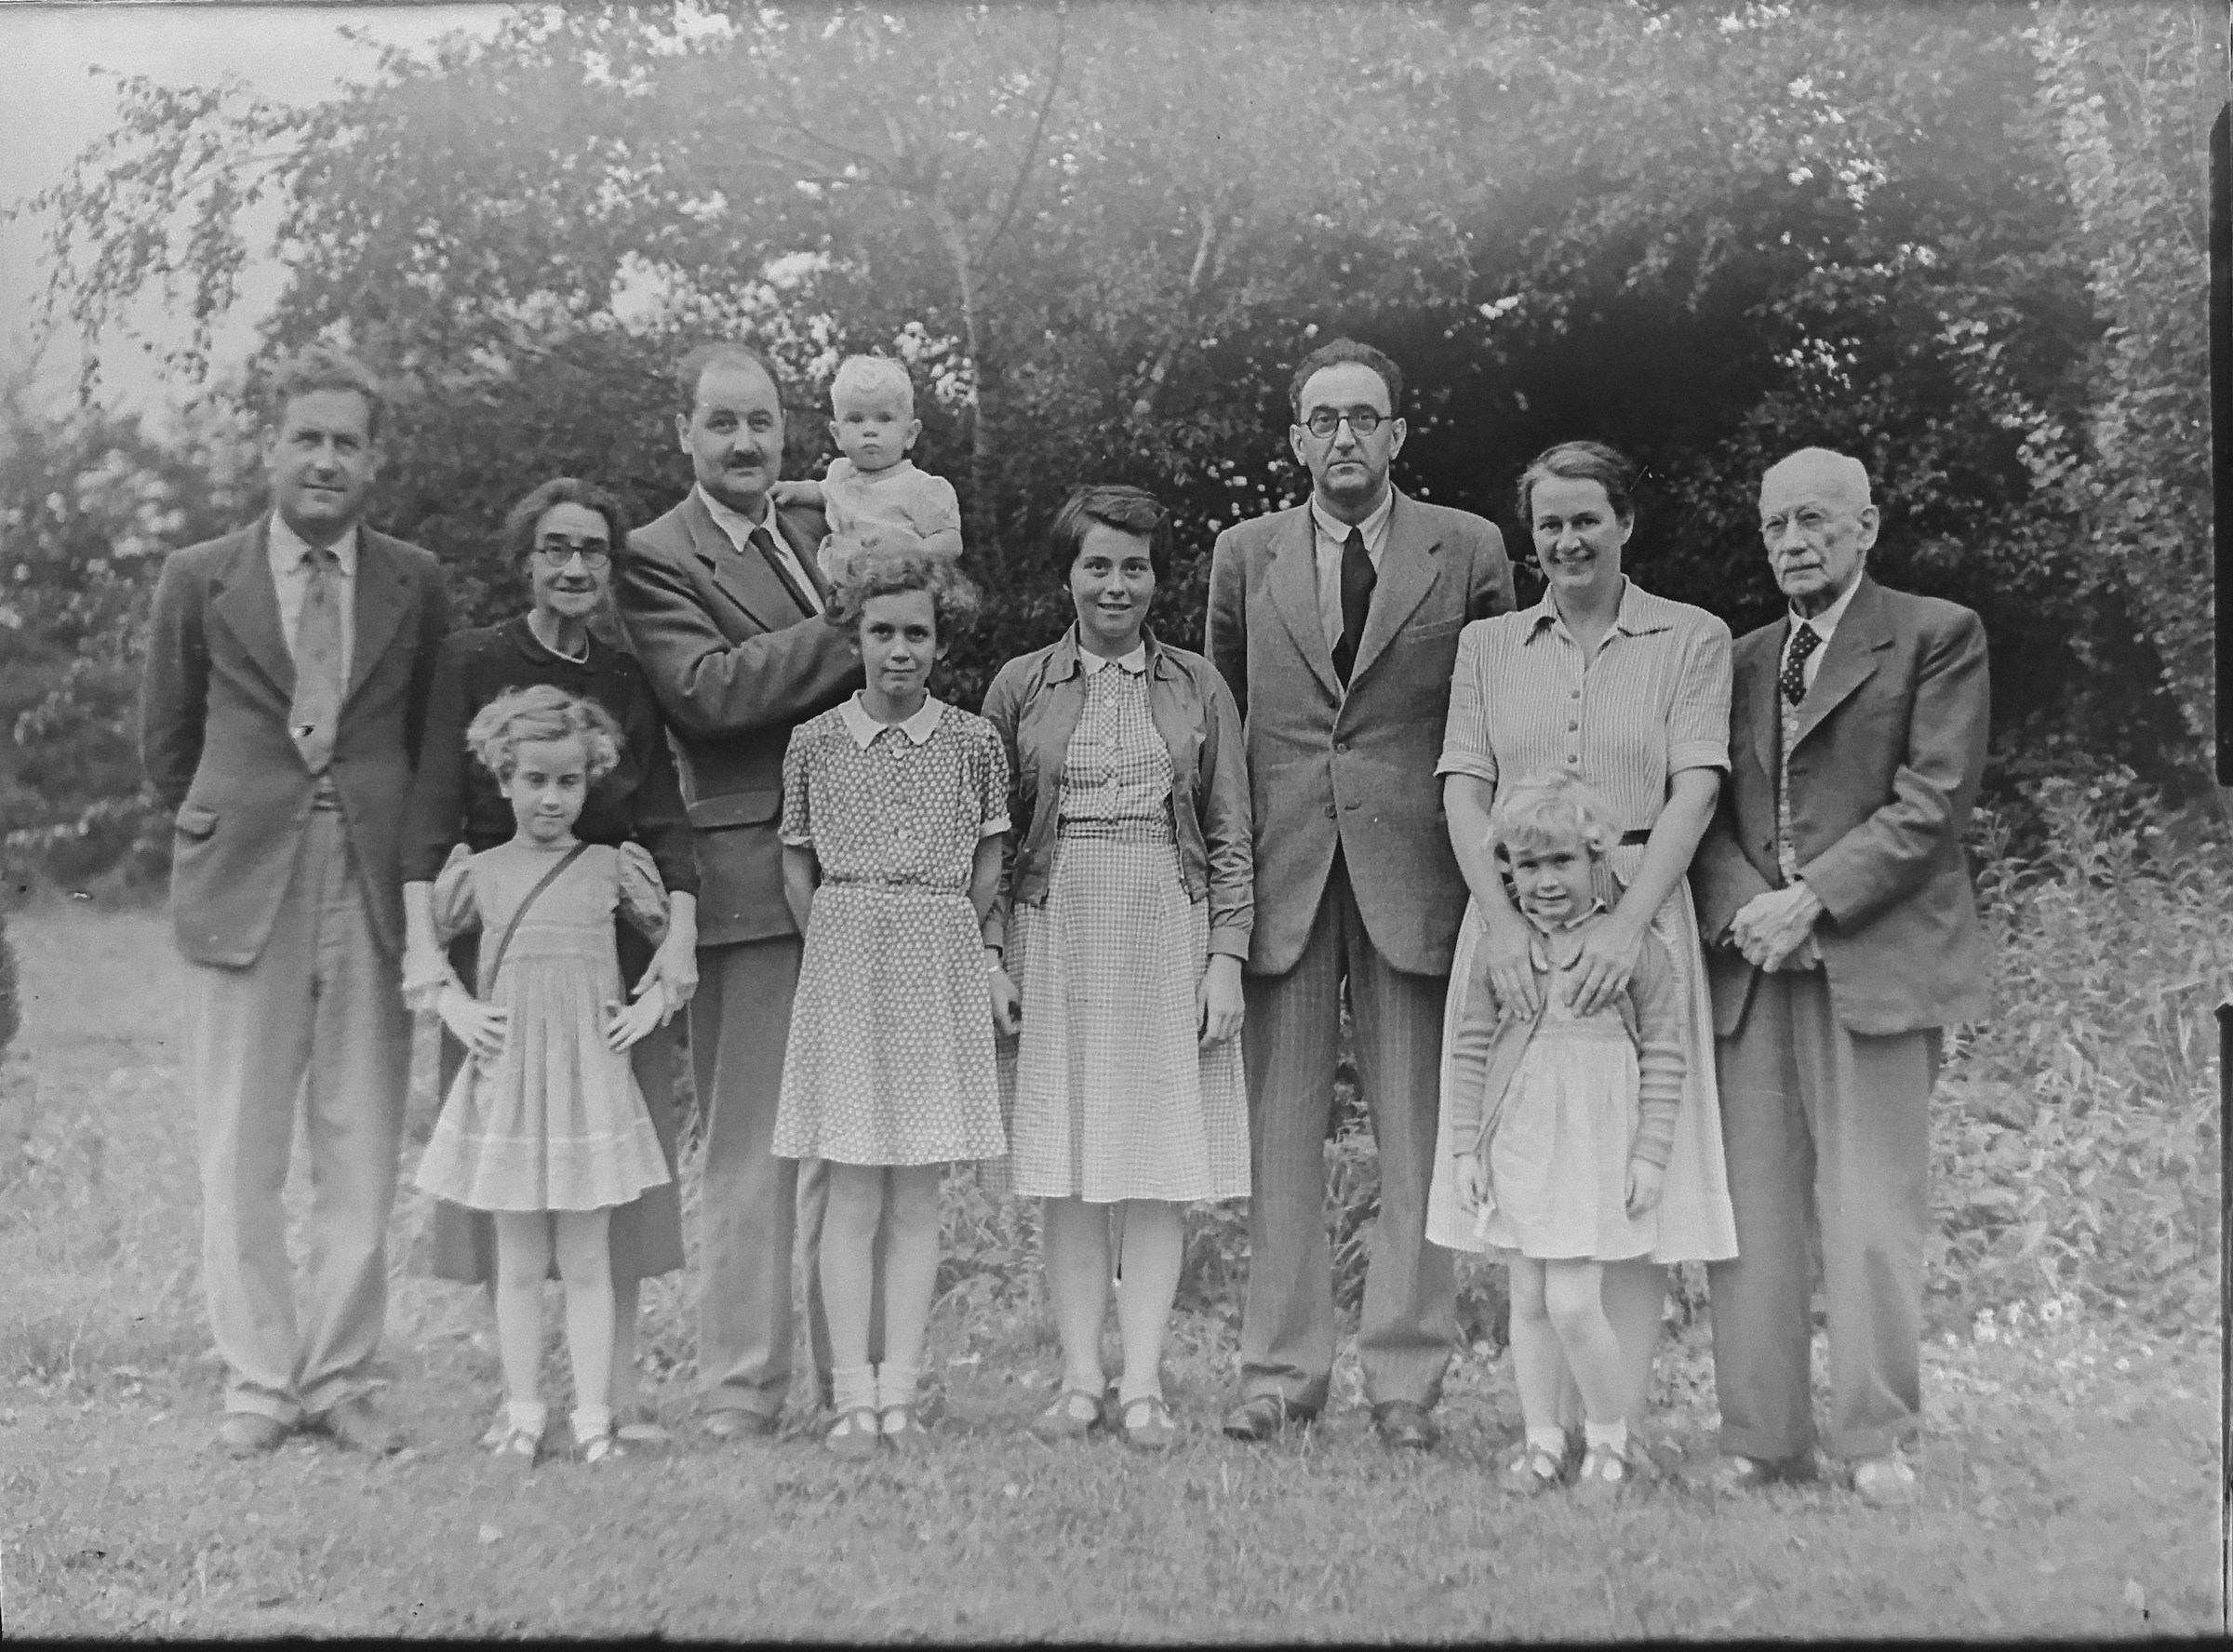
Restored photo texture
Low-detail family scan
Bring old family photos back to life
A restoration-style example makes the value clear without needing technical explanation.
sharper 4096 px
Drag to compare
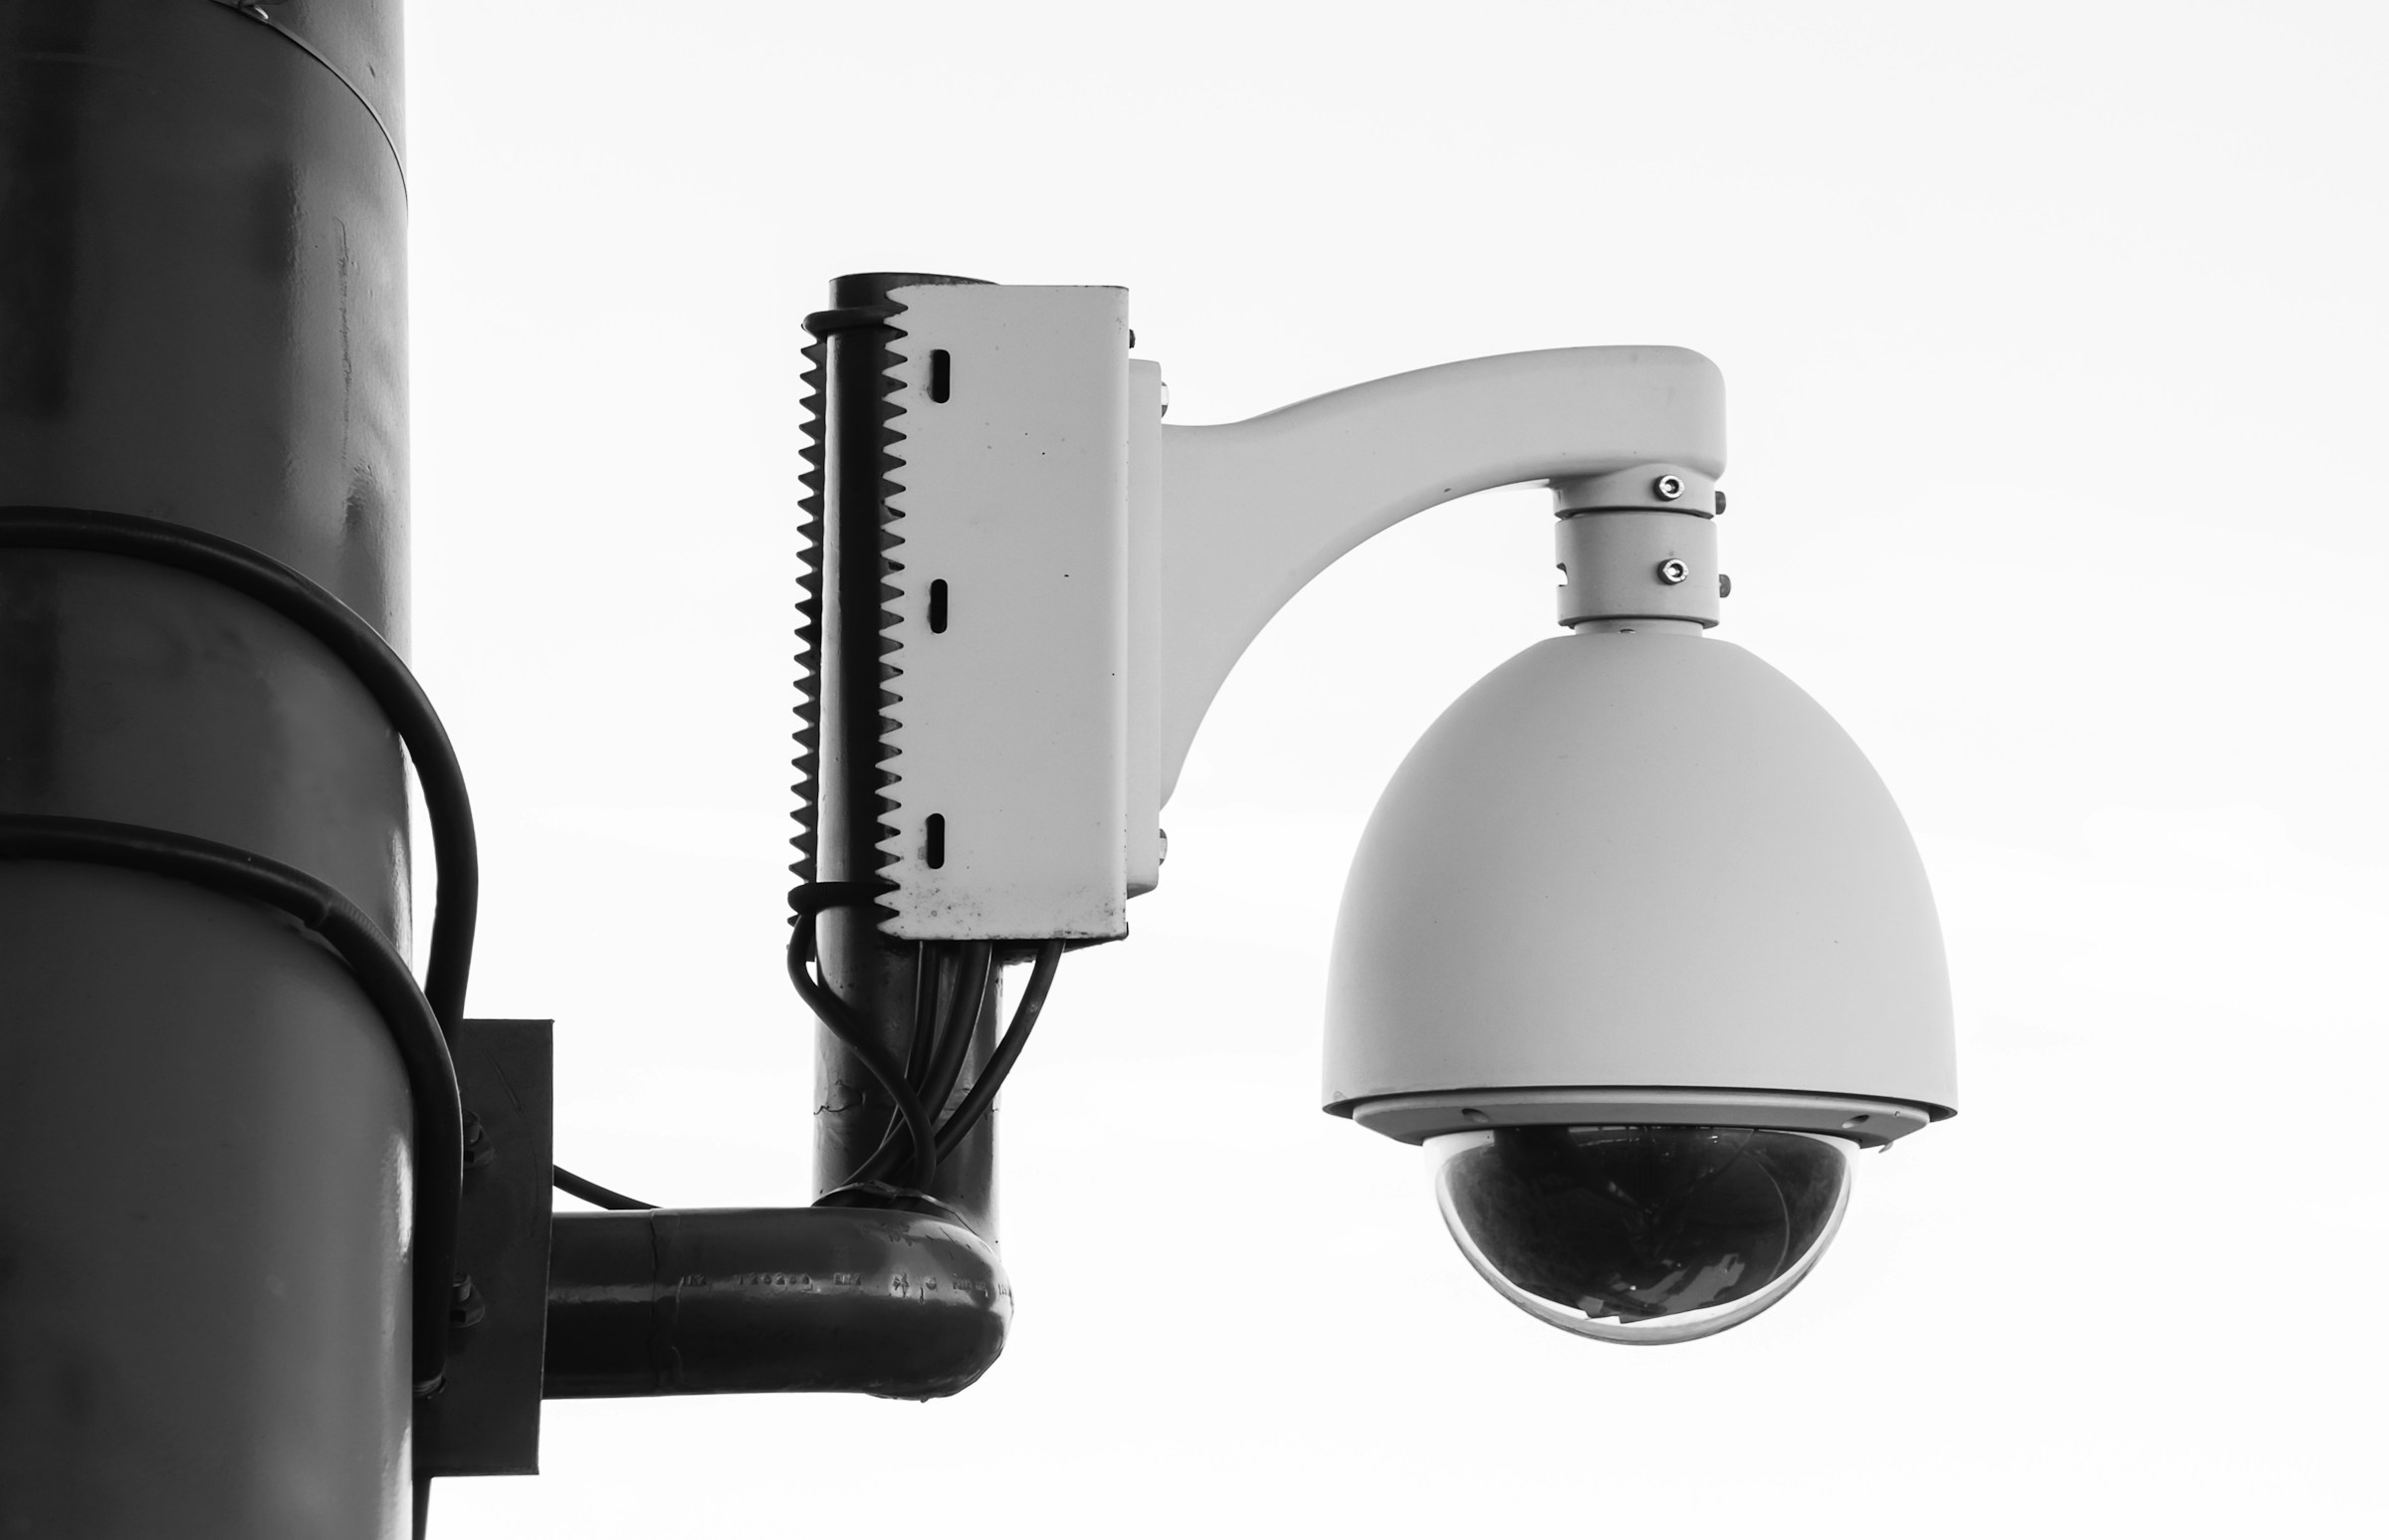
Readable monochrome detail
Blurry surveillance frame
Clean up a security still
Low-light black-and-white frames need stronger contrast and more usable edges.
sharper 4096 px
Drag to compare
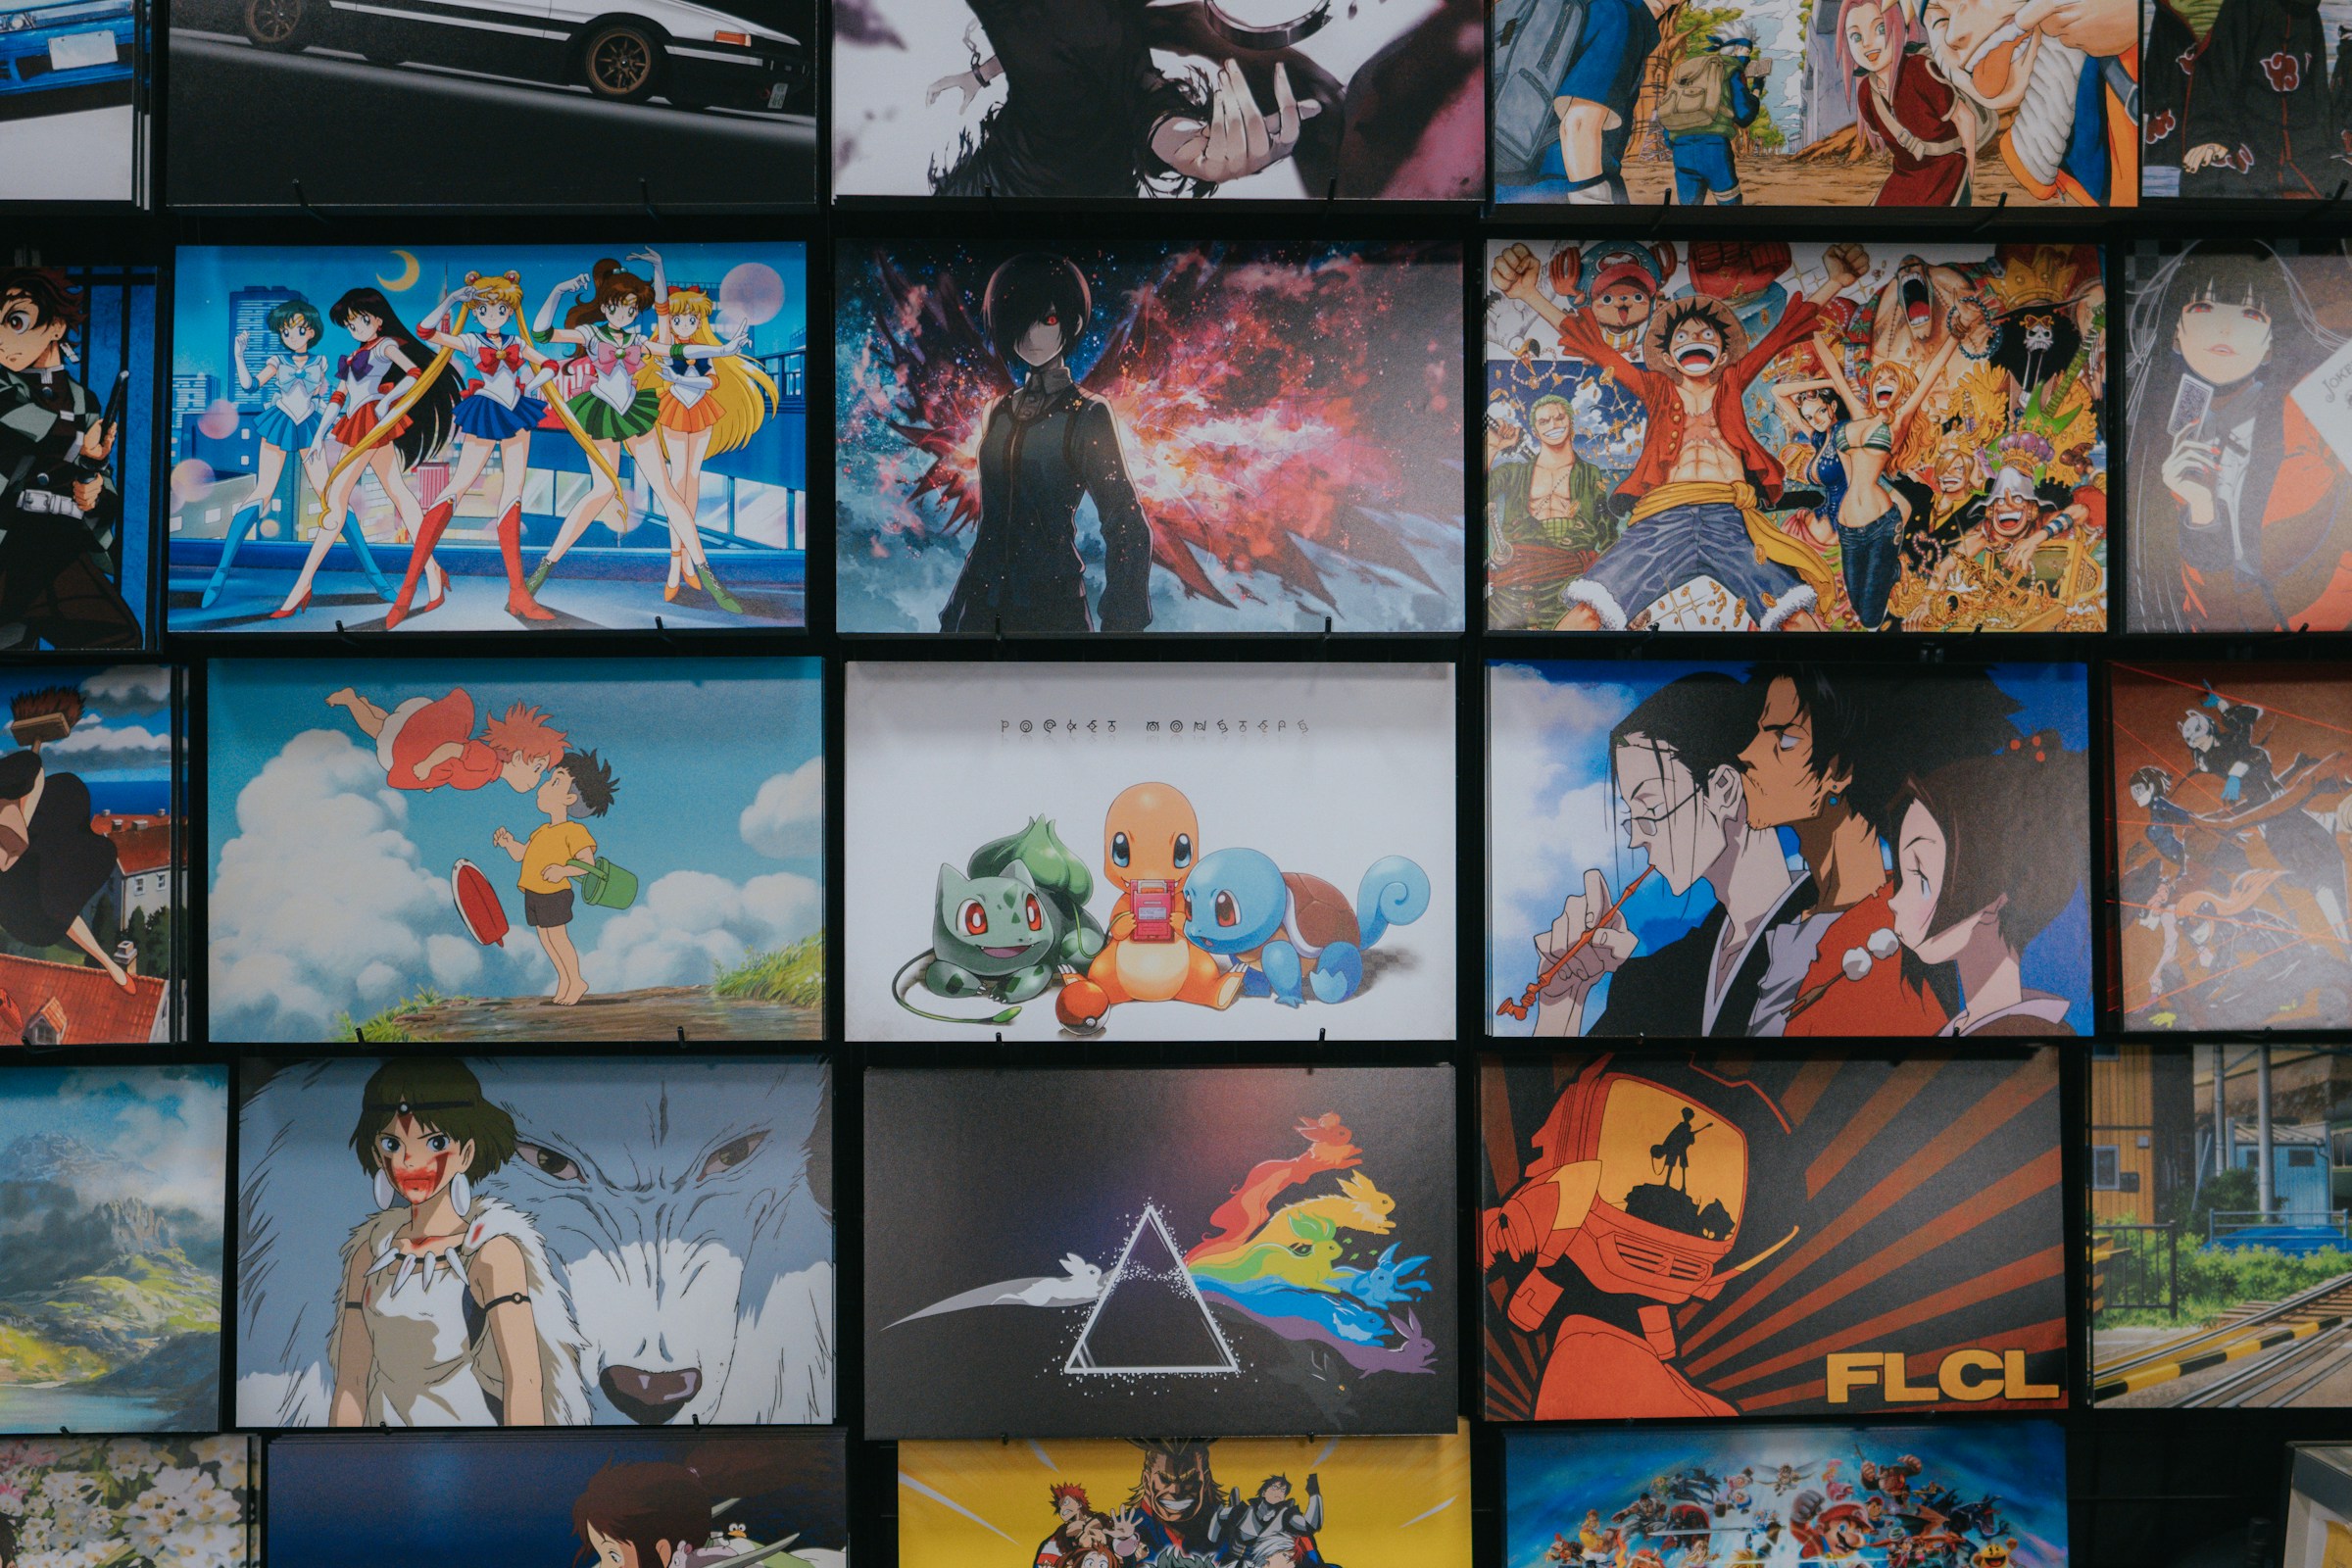
Crisp illustration detail
Compressed anime wall
Upscale anime posters to 4K
Colorful illustration examples make the tool feel useful for fans, creators, and print layouts.
Use cases
Not a one-off utility. It is the next step after generation.
The page stays focused for search, but it also teaches users what else GPTIMG can finish from the same image.
AI images that need final-size export
Generate at draft size, then upscale the winner for ads, landing pages, and high-resolution crops.
Product photos that feel too small
Give store and catalog images more pixel room before background removal or compression.
Posters and covers that need sharper detail
Review typography, texture, and small elements before a design goes to a client or print vendor.
Connected tools
One finished image usually needs one more move
After the first edit, keep the same asset moving through the rest of the suite instead of uploading it somewhere else.
Compress after upscaling
Keep the sharper version light enough for websites and stores.
Open Compress images online without visible quality loss
Remove the background
Turn the sharper image into a clean transparent PNG.
Open Remove image backgrounds with AI
Erase small artifacts
Clean odd text, marks, or distracting details after enlarging.
Open Remove unwanted objects from images
Workflows
Popular finishing paths
These are the combinations users naturally need after generating or uploading an image.
AI ad image workflow
Upscale the best render, erase small artifacts, then export a web-light version.
Product page workflow
Cut out the product, enlarge the final shot, and compress it for store speed.
Trust
Clear limits make the tool easier to trust
Each page explains what the feature changes, which files it supports, what costs apply, and when another editing step is the better next move.
Final cost is shown before running an AI edit.
Failed AI edits should refund credits when the backend task fails.
Use your own images or images you have rights to modify.
1
Upload the image
Start with an AI render, product photo, portrait, poster, or any image that needs more usable resolution.
2
Choose the output direction
Pick a faster upscale for routine assets or a detail-heavy upscale for final campaign work.
3
Keep finishing the same image
Continue with background removal, object cleanup, or compression from the same tool suite.
Should I upscale before or after removing the background?
For product photos, remove the background first when the subject edge matters, then upscale the cleaned result. For posters and AI art, upscale first if you need to inspect tiny details.
Can I compress an upscaled image afterward?
Yes. Upscaling increases pixel count, so compression is often the last step before uploading to a website or marketplace.
What images work best for AI upscaling?
Product shots, portraits, posters, AI renders, and social assets work well. Very blurry images may still need object cleanup or regeneration.