EC商品画像をAIで作り直したら、一番派手な画像が一番使えるとは限らなかった
AIでEC商品画像を作る実践テスト。白背景、スタジオ写真、使用シーン、詳細画像の作り方と、人間の撮影がまだ必要な場面を整理します。

David Chen
·2 min read

以前は、商品画像の役割は「商品をきれいに見せること」だと思っていました。
でも、それだけでは足りません。
ECの商品画像は、購入前の疑問に答える必要があります。
- 商品はどんな形か。
- 素材は信頼できそうか。
- どれくらいの大きさか。
- どこで使うのか。
- なぜクリックする価値があるのか。
そこで、AIでEC商品画像を作り直してみました。
目的は、AIが写真家を完全に置き換えるかどうかではありません。
どの画像をAIに任せると便利で、どの画像はまだ実写がよいのかを見るためです。
結論はシンプルです。
AIは、初稿、商品ページのバリエーション、使用シーン、詳細画像、広告アイデアに向いています。
でも、すべての撮影を置き換えるものではありません。
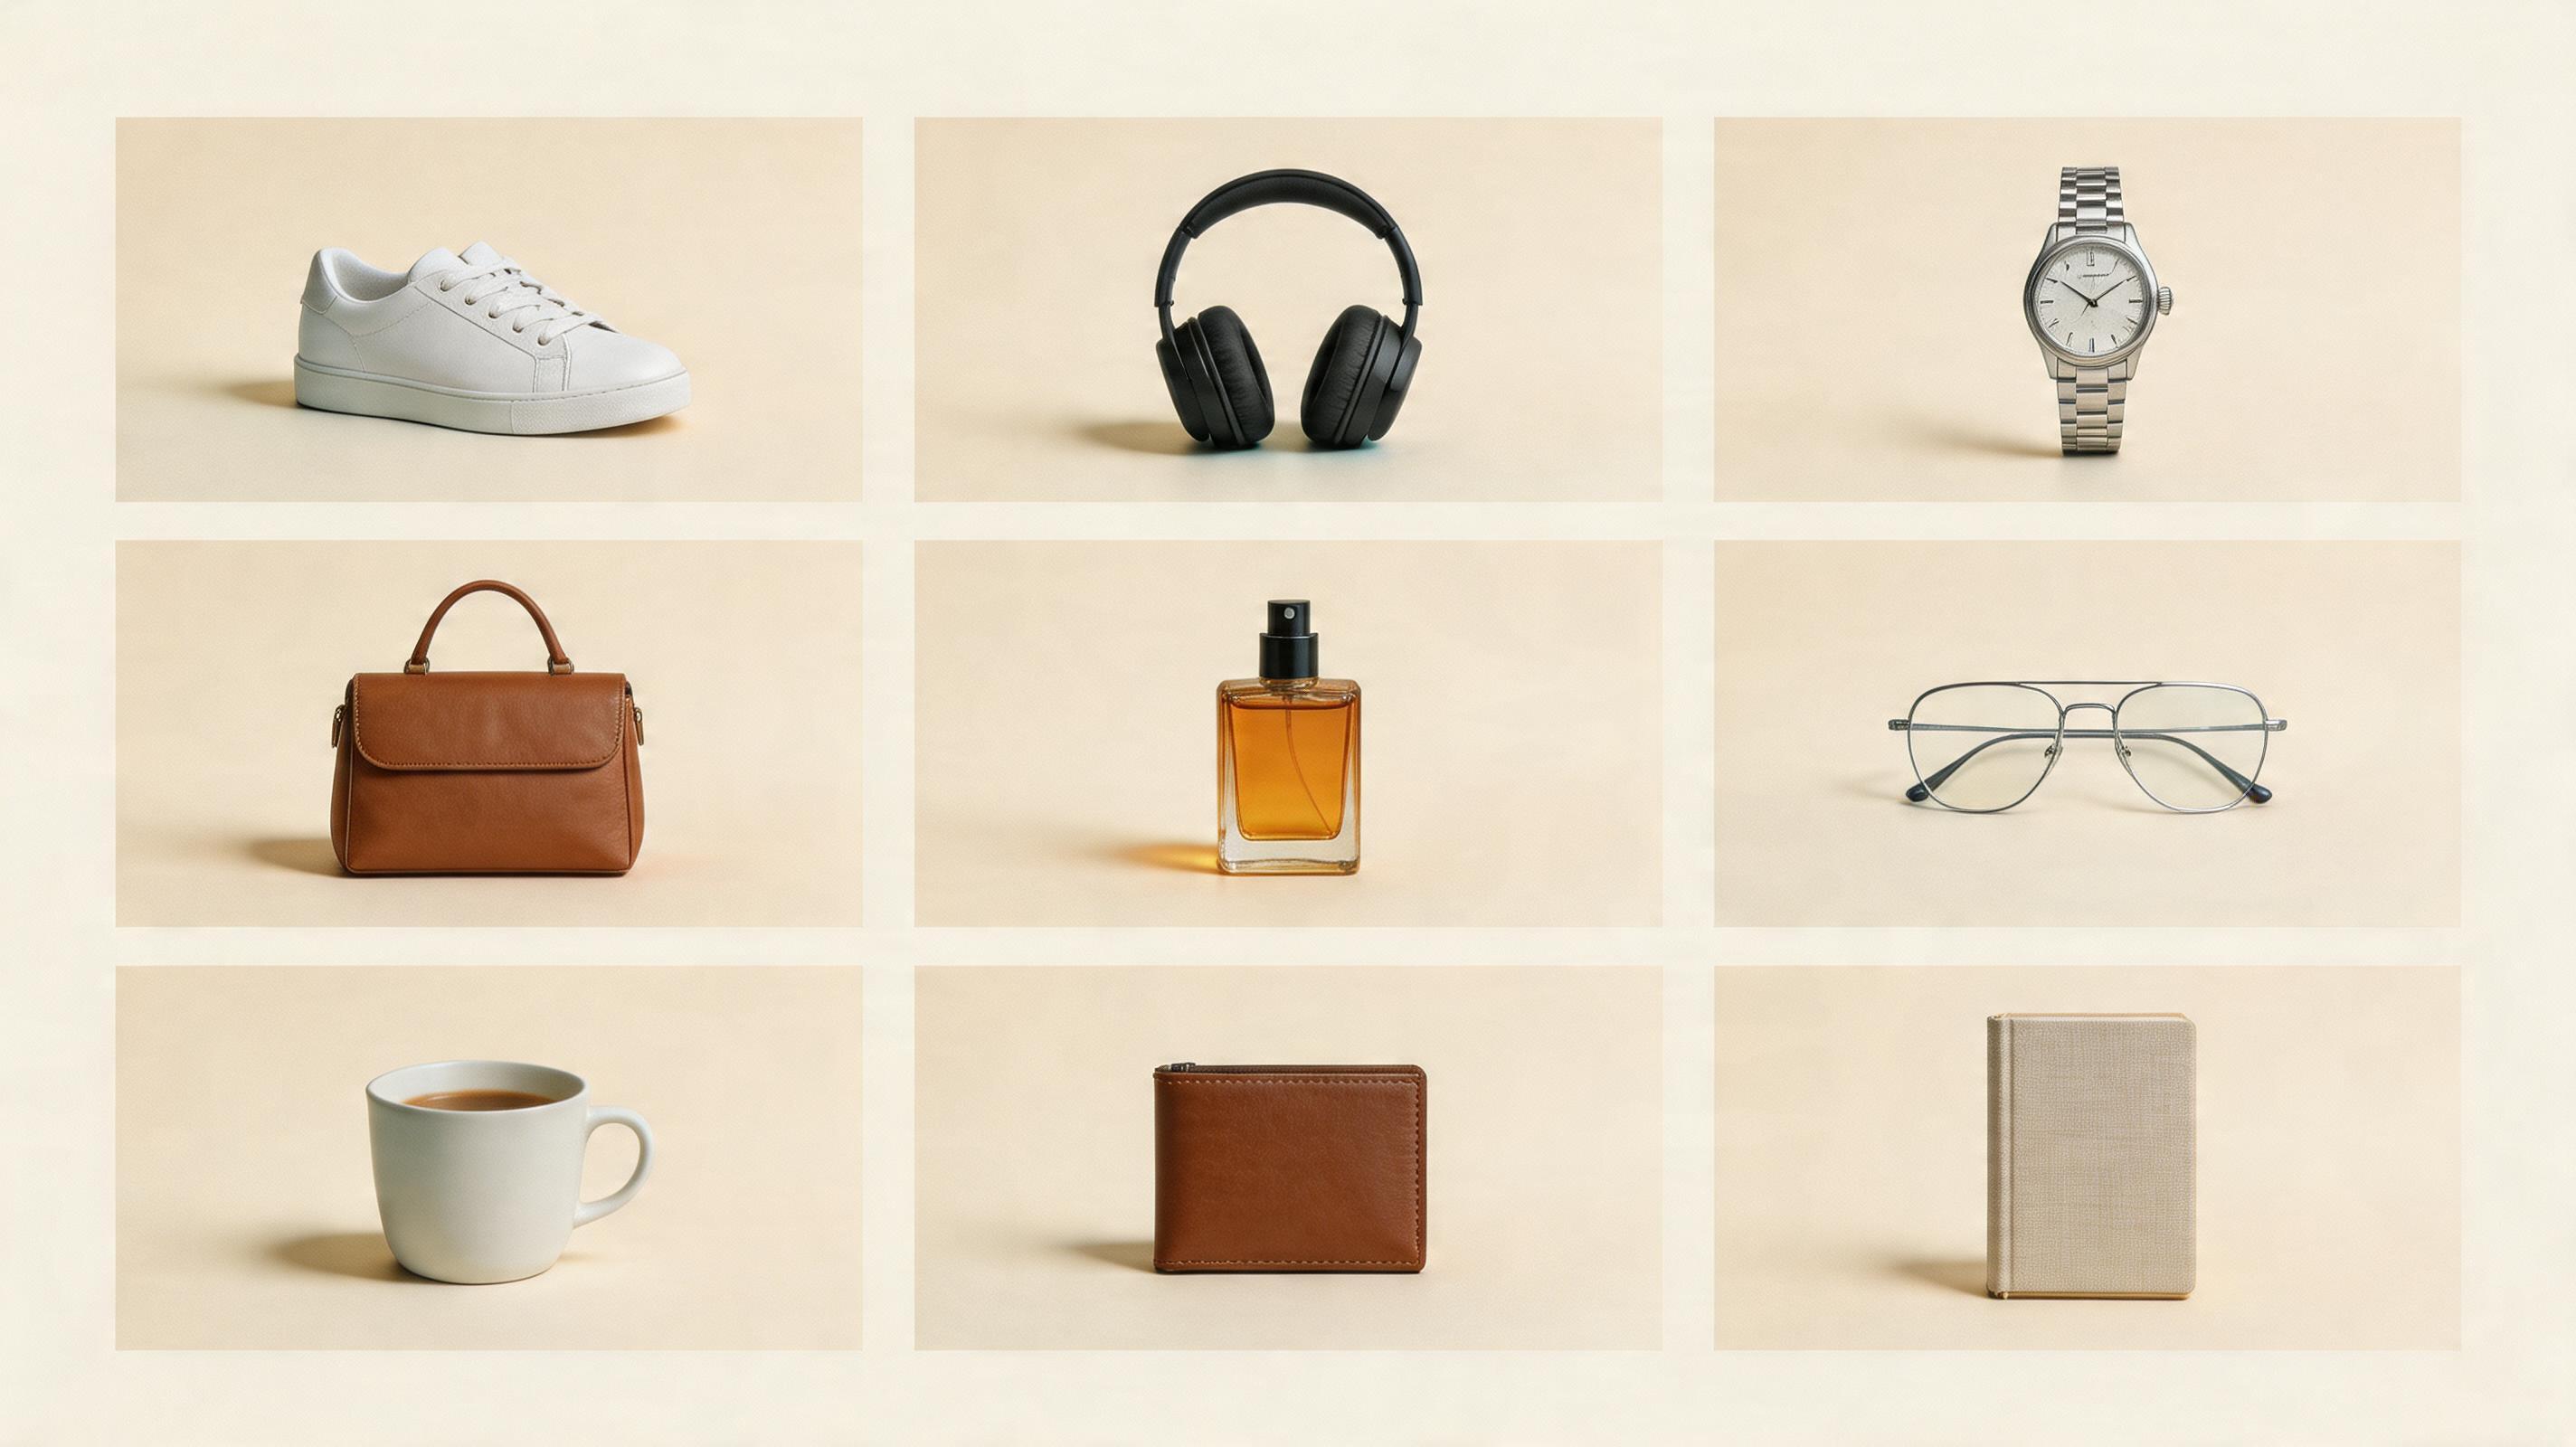
まず商品画像を1枚生成する
商品参考画像をアップロードして、3:4のEC商品画像から始めます。
1. メイン画像は静かでいい
白背景のメイン画像は派手ではありません。
でも、一番大事です。
Create a clean ecommerce product photo.
Use the uploaded product as the reference.
White background, centered product, realistic shadow, sharp focus.
Make it look like a marketplace hero image.
最初から小物を足さないほうが安定します。
2. スタジオ写真で質感を出す
AIが便利だと感じるのは、スタジオ写真です。
背景、台、光、影をすぐ試せます。
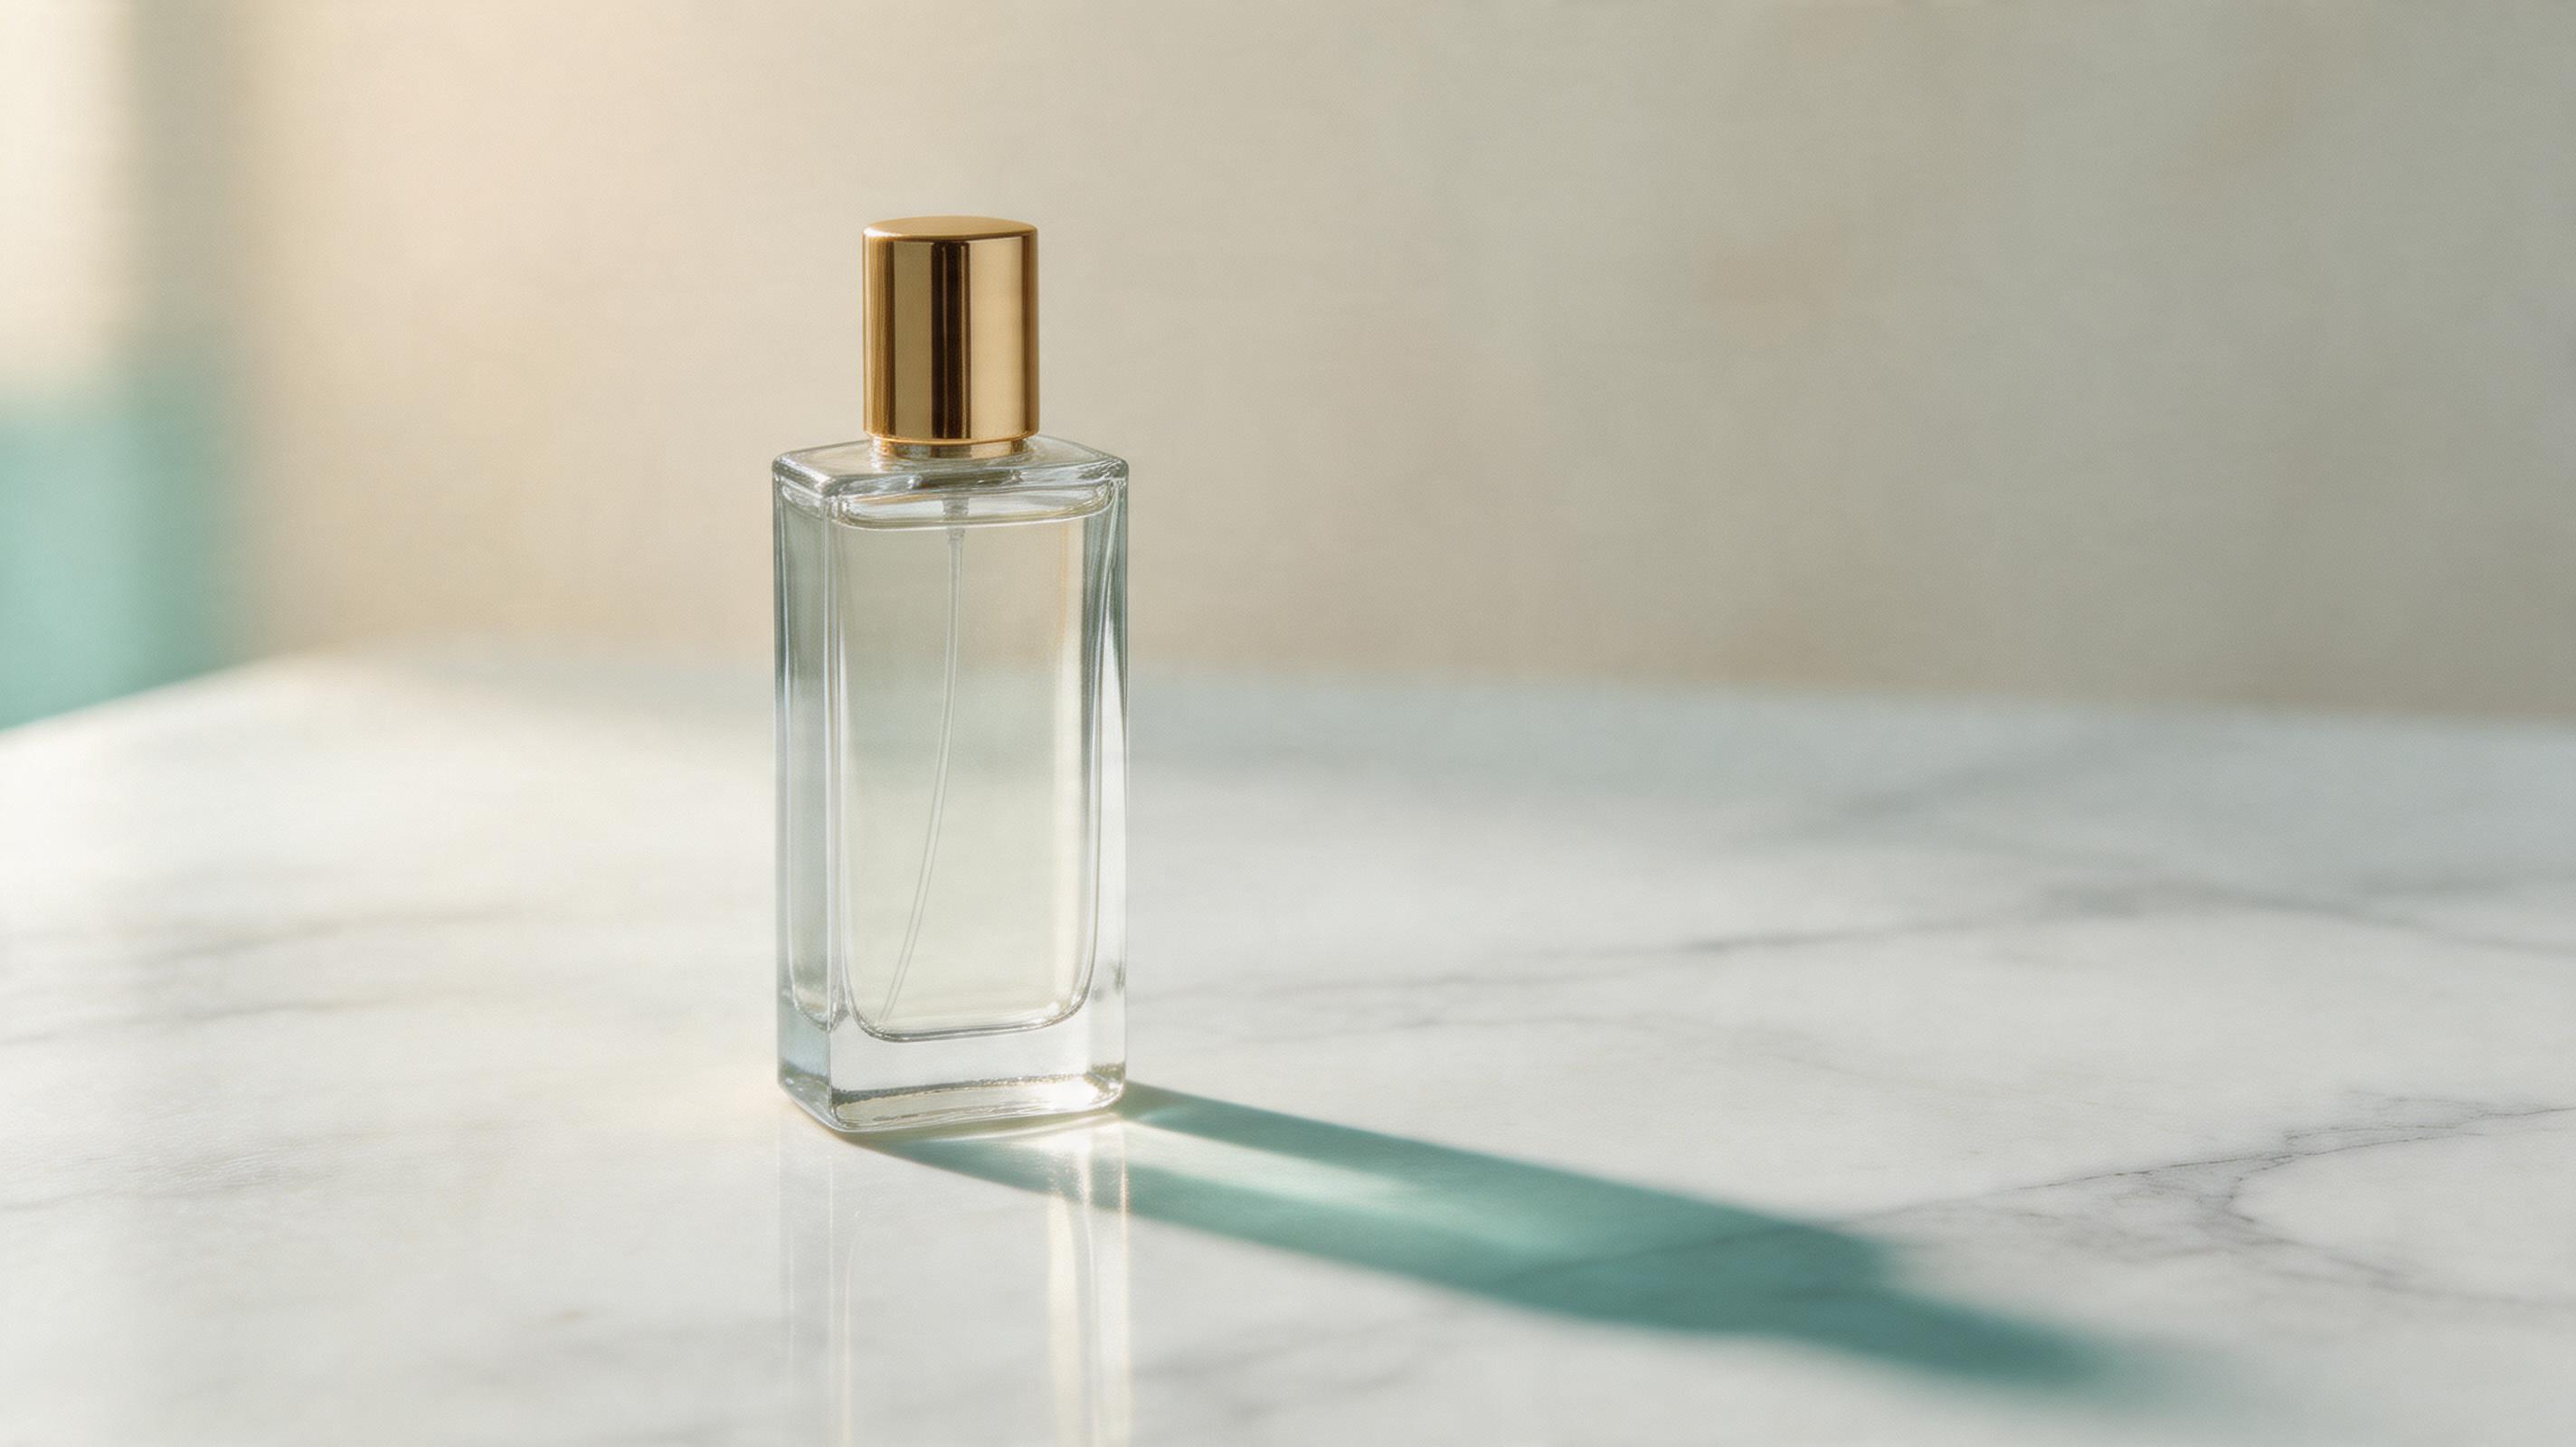
Create a premium studio product photograph.
Place the product on a clean matte surface.
Use soft directional light, realistic shadow, and subtle background depth.
Keep the product as the only hero object.
背景が強すぎる場合は、もっと静かな方向にします。
3. 使用シーンは本当にありそうにする
AIは雰囲気作りが得意ですが、使い道と関係ない小物を増やしがちです。
大事なのは、この商品がどこで使われるかです。
イヤホンなら通勤、デスク、カフェ。
香水なら洗面台、旅行ポーチ、外出前。
スニーカーなら街、ランニングコース、ジム。
Create a lifestyle ecommerce image.
Place the product in a believable real-life usage scene.
Use natural lighting and human-scale context.
The product should still be the main subject.
4. 詳細画像は3点まで
スマホでは、情報が多すぎる画像は読まれません。
Create a clean ecommerce detail image.
Show the product clearly.
Add 3 simple feature callouts with short labels.
Use clean spacing and a vertical product-page layout.
売りが多いなら、画像を分けたほうがいいです。
The Bottom Line
AIはECチームの時間をかなり短縮できます。
でも、一番派手な画像が一番使えるとは限りません。
使える画像は、商品ページに置ける画像です。
- 商品が分かるメイン画像
- 質感があるスタジオ写真
- 想像しやすい使用シーン
- 読みやすい詳細画像
- クリックしたくなるSNSカバー
この順番で使うと、AIはランダムな画像生成ツールではなく、ECのビジュアル制作アシスタントになります。
よくある質問
GPT Image2 Studio の無料試用にカードは必要ですか?
必要ありません。新規登録で30クレジット、最初の画像生成に成功するとさらに30クレジットを受け取れます。追加利用が必要な場合のみ有料プランを選べます。
生成した画像は商用利用できますか?
はい。無料のスタータークレジットを含め、各プランで商用利用が可能です。広告、商品ページ、印刷物、SNS投稿に使えます。ウォーターマークや必須クレジット表記はありません。
どのモデルを選べばいいですか?
文字入り広告やヒーロービジュアルは GPT Image 1.5 high、商品質感や細部は Nano Banana Pro、大量のSNS案は Nano Banana 2、素早いラフ制作は Z Image が向いています。同じプロンプトで並べて比較できます。
1枚の生成にはどのくらい時間がかかりますか?
Z Image は約10秒、Nano Banana 2 は15〜20秒、Nano Banana Pro と GPT Image 1.5 high は標準品質で30〜45秒ほどです。4K高品質では1分前後かかる場合があります。
GPT Image 1.5 high と Nano Banana 2 の違いは何ですか?
GPT Image 1.5 high は画像内テキストや広告品質に強く、Nano Banana 2 は高速でコストを抑えやすいモデルです。制作では同じプロンプトで比較して選ぶのが安全です。
既存画像の編集もできますか?
できます。参照画像をアップロードして、画像から画像への生成、部分編集、背景削除、不要物削除、圧縮まで同じ流れで進められます。
モデル選びで迷わない。
まとめて比較できます。
同じプロンプトを GPT Image 1.5 high、Nano Banana 2、Z Image など複数モデルで比較できます。ひとつのワークベンチで、納品に使える画像を素早く判断できます。登録で30クレジット、最初の成功生成後に追加30クレジット。商用利用権も各プランに含まれます。
30 + 30
無料クレジット
5+
主要モデル
30s
初回生成まで


